Virtuozzo (Linux) series
3. How to configure your Power Panel interface
This tutorial assumes you've already logged in to your Virtuozzo Power Panel (VZPP).
Now let's learn how to configure our VZPP interface.
1) Click the Configure link.
This is the VZPP Configure screen, where you can change the way VZPP displays.
2) Let's click here to change the Interface Skin. Changing the Interface Skin will only change the way VZPP looks (i.e. different icons, colors, layout, etc)..... not the way it works.
As with the other options below, changes made on this page will only take effect after clicking the Submit button.
3) The Status Bar Refresh option allows you to set how often the system will refresh the status bar located at the top of every VZPP screen.
If you select the Smart Update option, the status bar will be refreshed only when you follow VZPP links, but not more than once every 60 seconds.
4) The Interface Language menu let's you choose which language your VZPP is to be displayed in. As you can see, there are a number of languages to choose from. For demonstration purposes, let's choose a different language.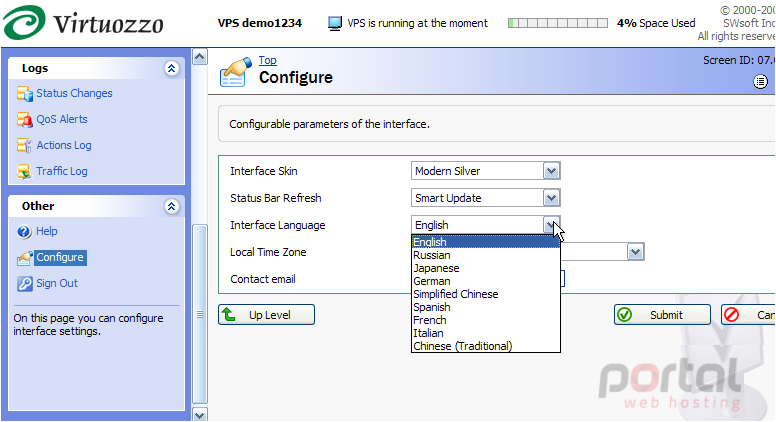
5) This setting affects the date and time information found on such VZPP screens as Status Changes, QoS Alerts and Action Log.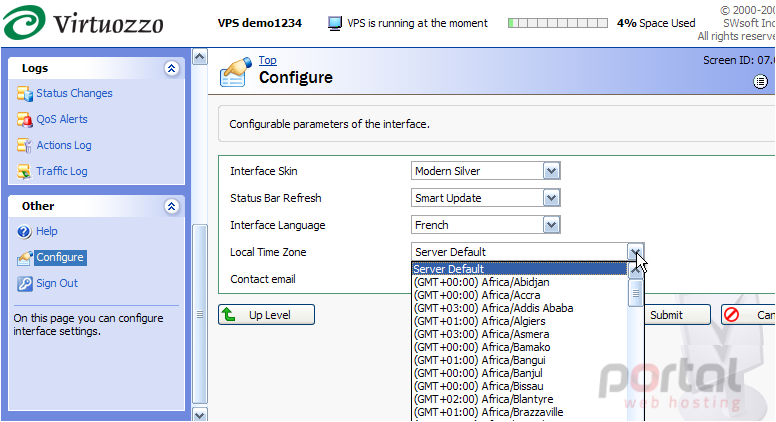
6) It is important to keep your Contact Email address current, since this address is where your password information will be sent, in the event that you ever forget it.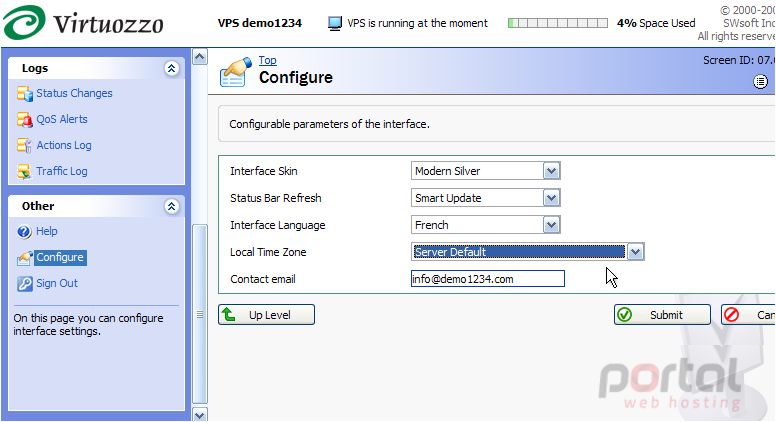
7) Click Submit when finished.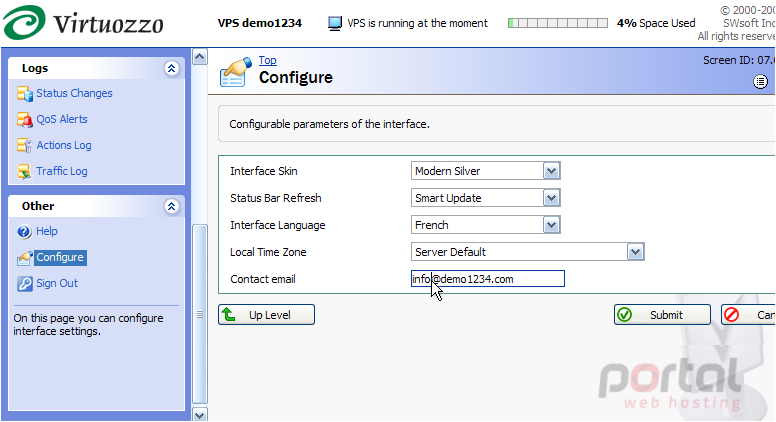
That's it! We've successfully re-configured our VZPP Interface, and as you can see, the new Interface skin (Modern Silver) and new language (French) have been immediately configured.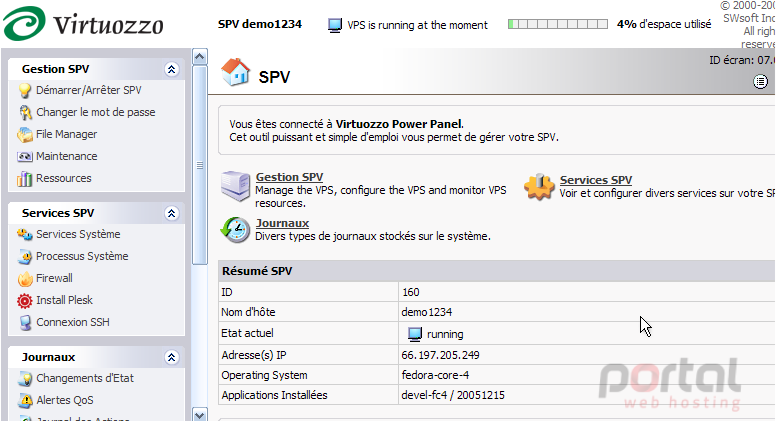
8) Now let's go change our interface skin and language back to the way it was.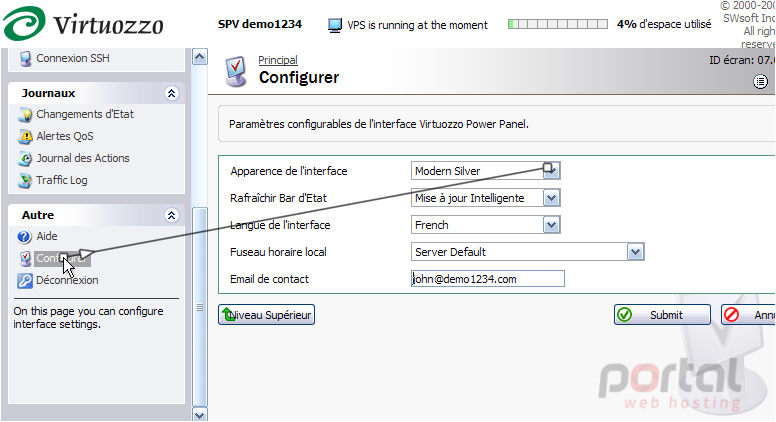
9) Click Submit when finished.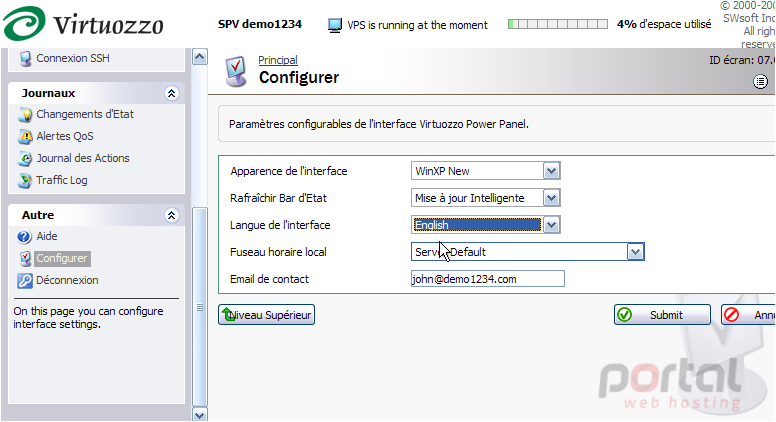
One final note: The configuration settings will be remembered for the current browser only. If you change browsers, or move to another computer for working with VZPP, the default settings will be used until you perform a new customization.
This is the end of the tutorial. You now know how to configure your Power Panel interface, including changes to skins, language displays, and setting your contact email address.