WHM 11.34 (2013) reseller series
28. How to modify an account in WHM
This demo assumes you've already logged in to WebHost Manager (WHM).
Now let's learn how to modify (or edit) an existing hosting account in WHM.
1) Go to account functions.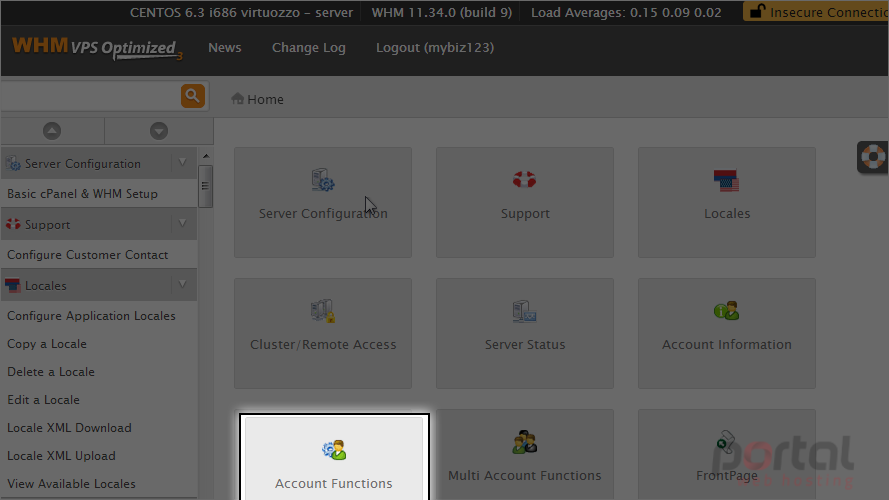
2) Click modify an account link.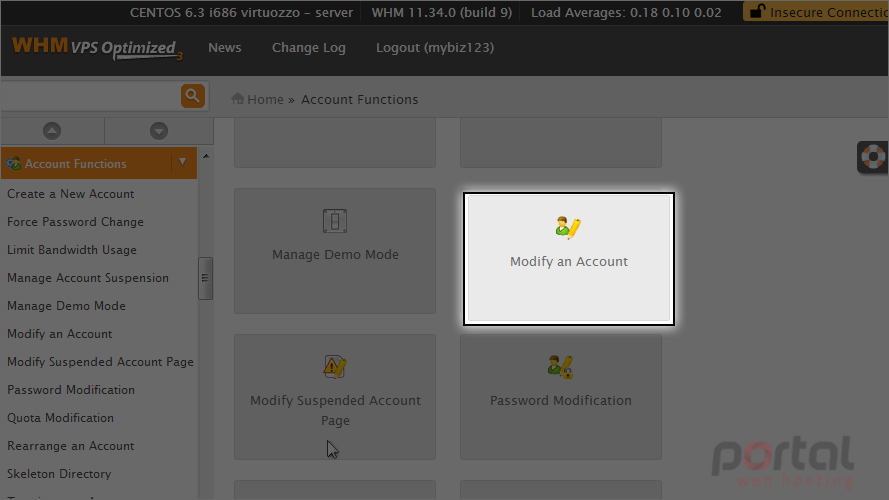
3) Click the account you wish to modify, we'll choose the demo123.com account.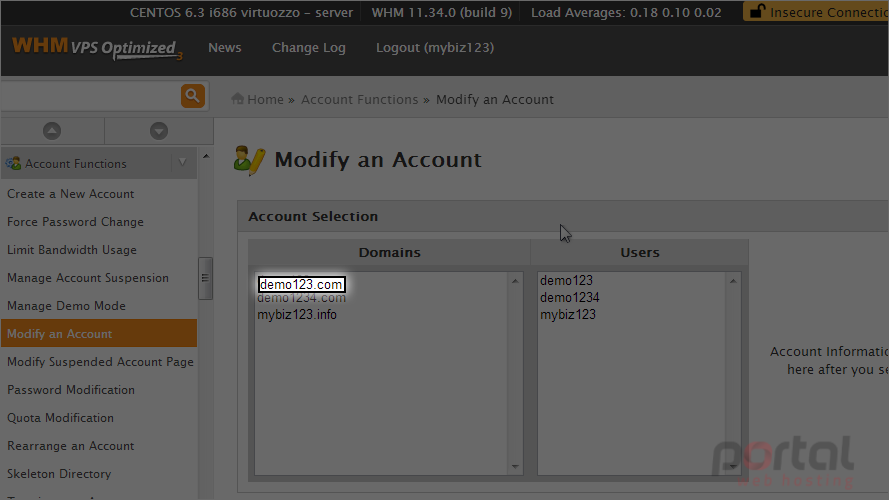
4) Then click modify.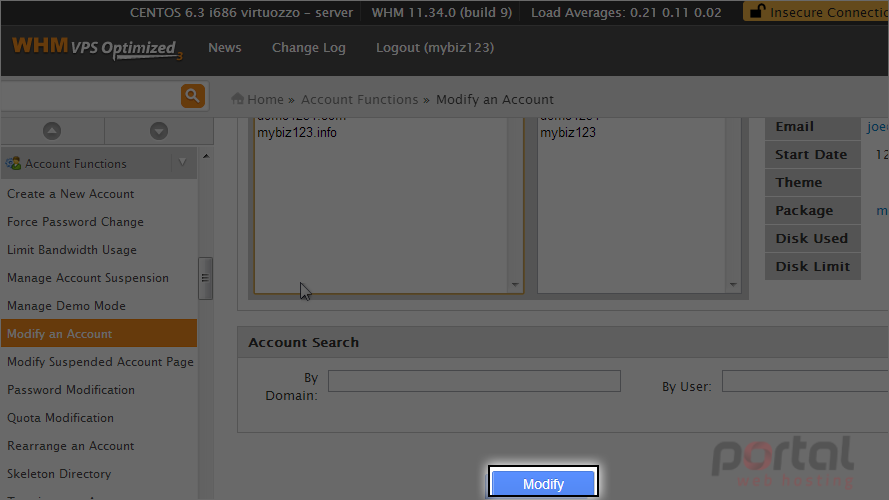
This is where you can modify an account. You can change the cPanel theme, the number of allowed email accounts, mailing lists, MySQL databases, FTP accounts, subdomains, parked domains, and/or addon domains.
Let's go ahead and change a few things...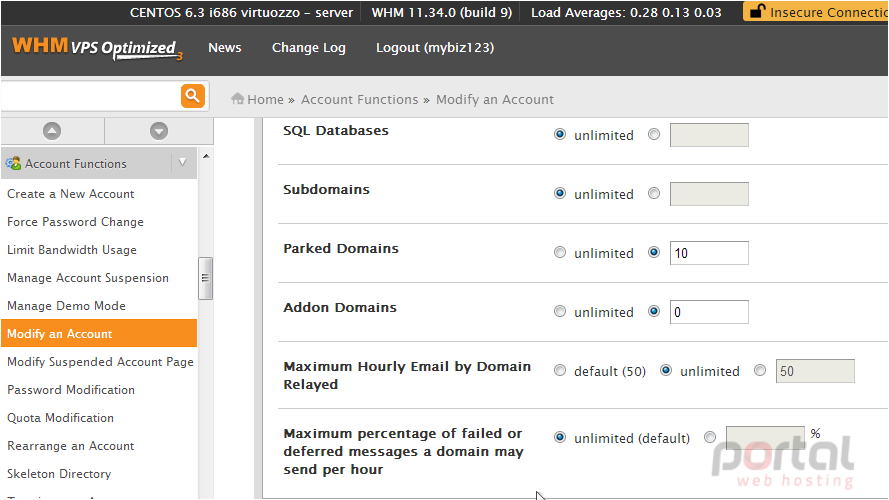
5) When finished click save.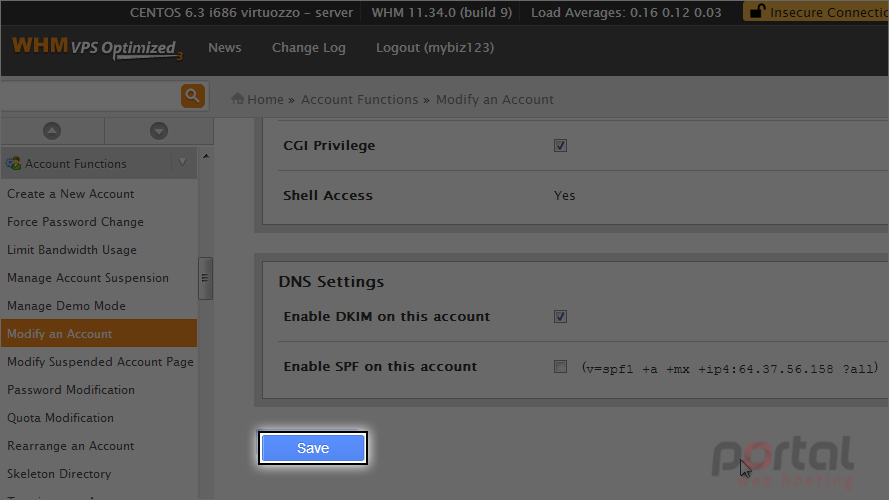
If there is a conflict between the package and your chosen settings, choose one of these options. We'll create a new package with these settings.
6) Click proceed.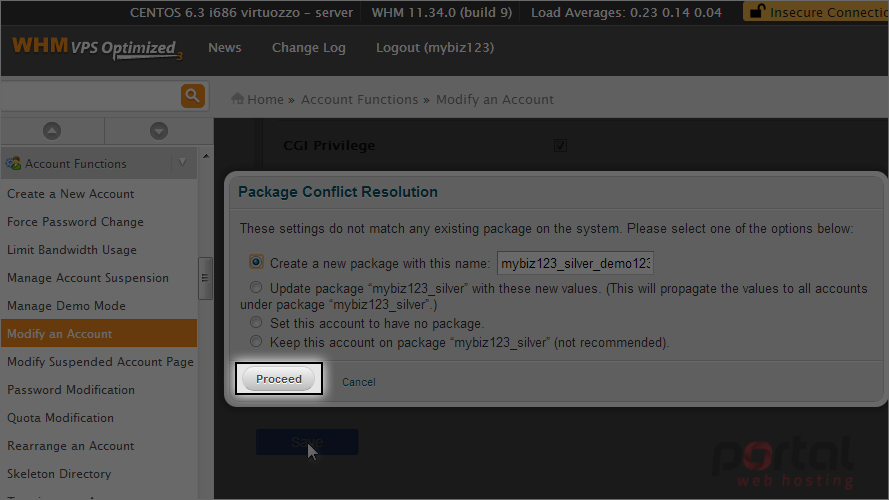
That's it! The account has been modified.
You can return to the modify an account screen at any time, as customers may periodically want to upgrade their accounts.
This is the end of the tutorial. You now know how to modify an account in WHM.