DotNetNuke series
2. How to install third-party skins in DotNetNuke
This tutorial assumes that you have already logged into the DotNetNuke admin area
Now let's learn how to install third-party skins for DotNetNuke
1) Scroll over Host option
2) Then click Skins
3) Click Install New Skin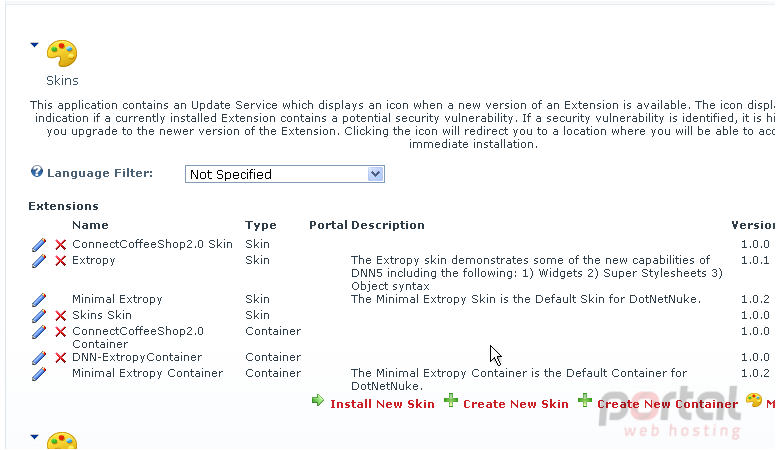
Scroll down
Now let's follow the wizard to install the third-party skins
4) Click Choose File to select the skin and upload it to the server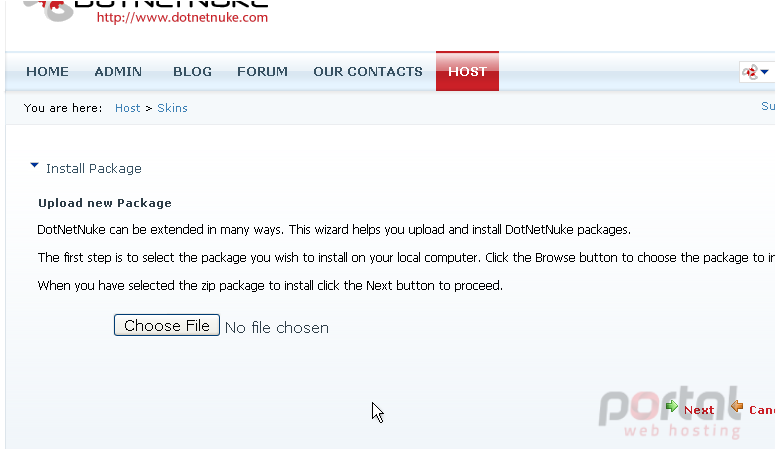
5) Select the necessary file and click Open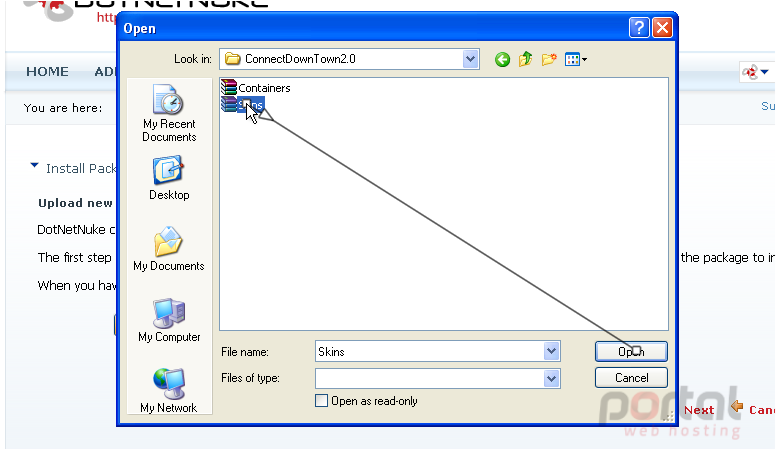
6) Then click Next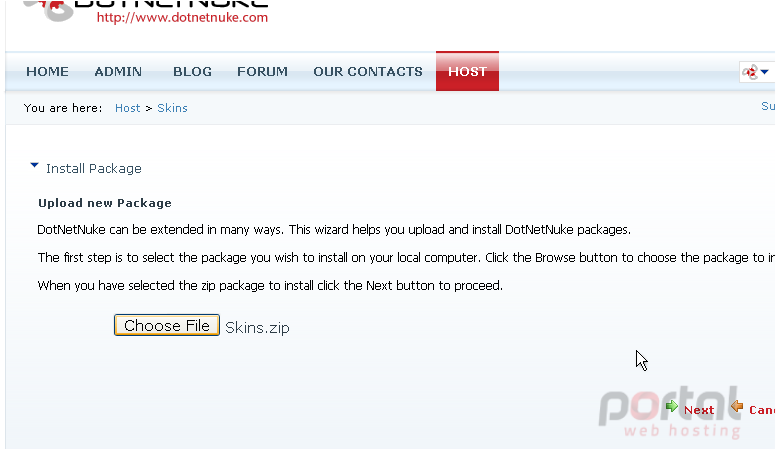
7) Click Next here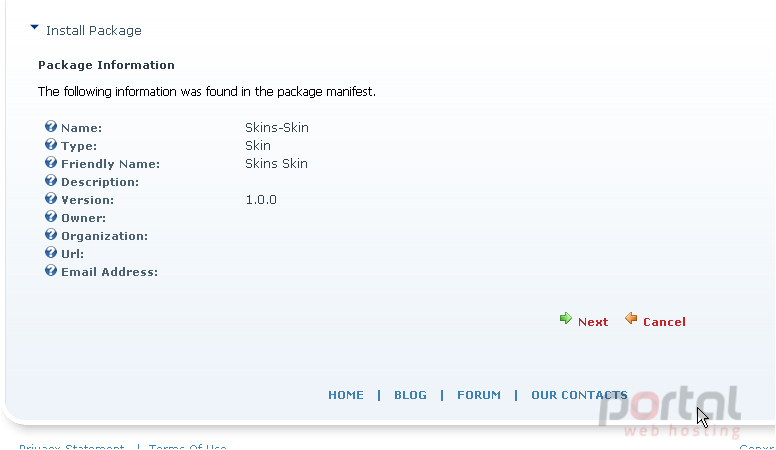
8) Click Next here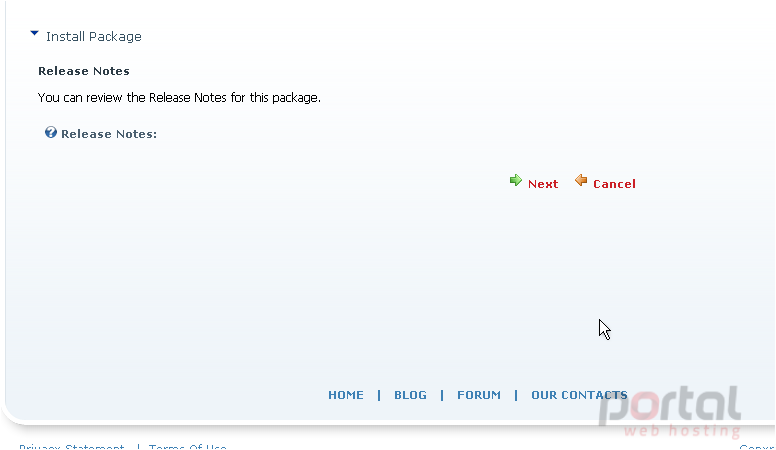
9) Click Next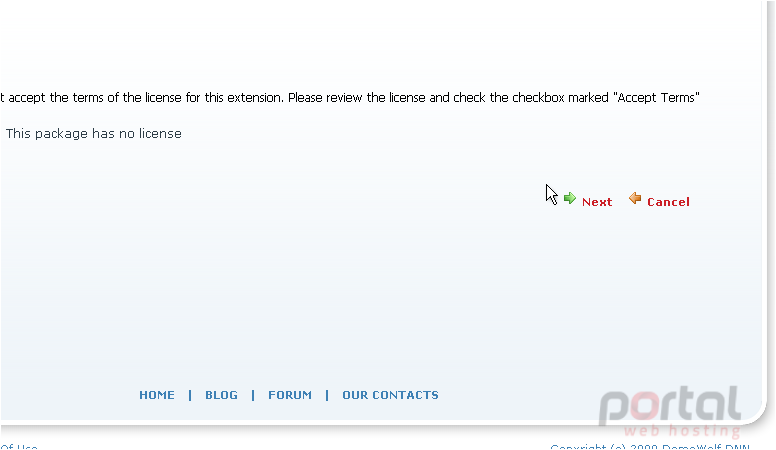
As you can see, the skin installation has been successfully completed
10) Click Return to go back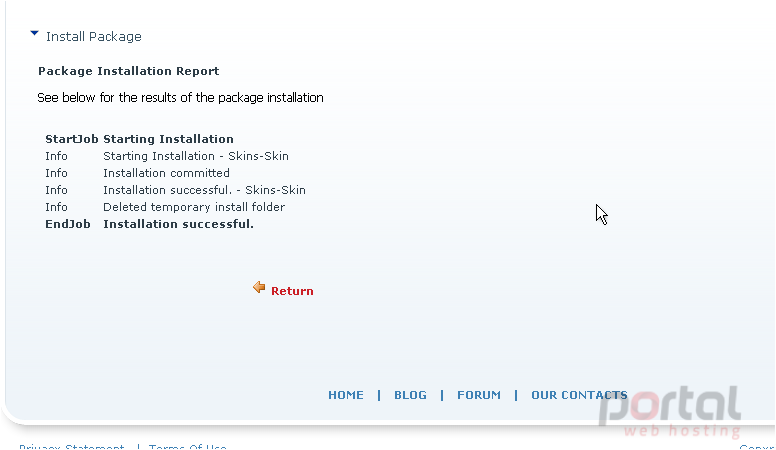
Now when the skin package has been uploaded, let's try changing our default skin to the new one...scroll down
11) Scroll over Admin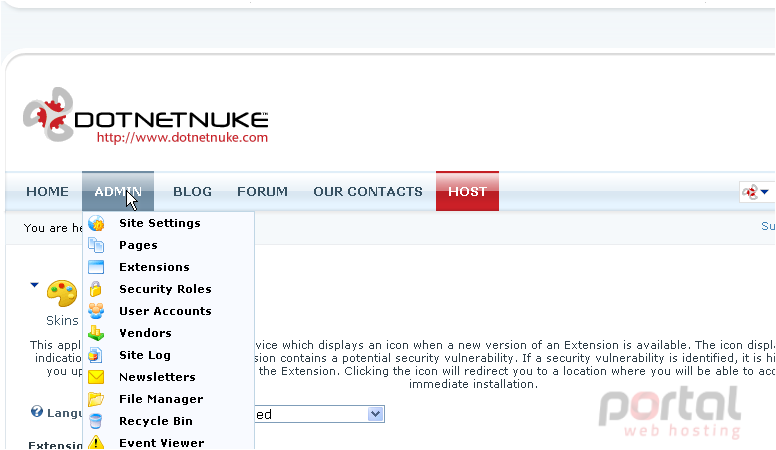
12) Click Site Settings here
Scroll down
13) Expand the Appearance menu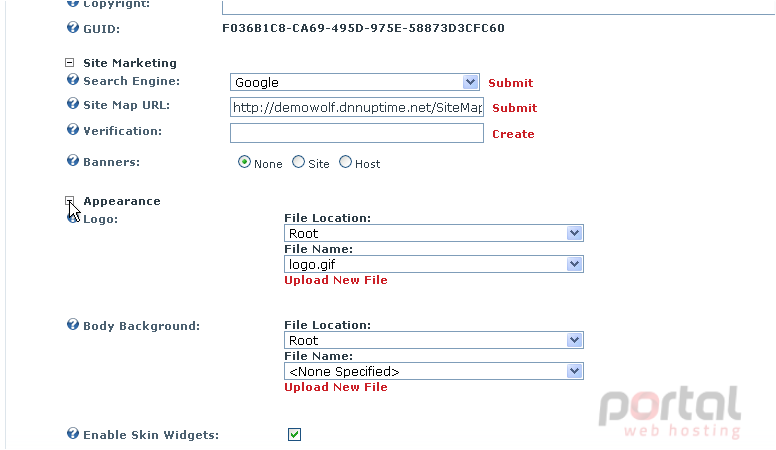
14) Choose the new skin from the list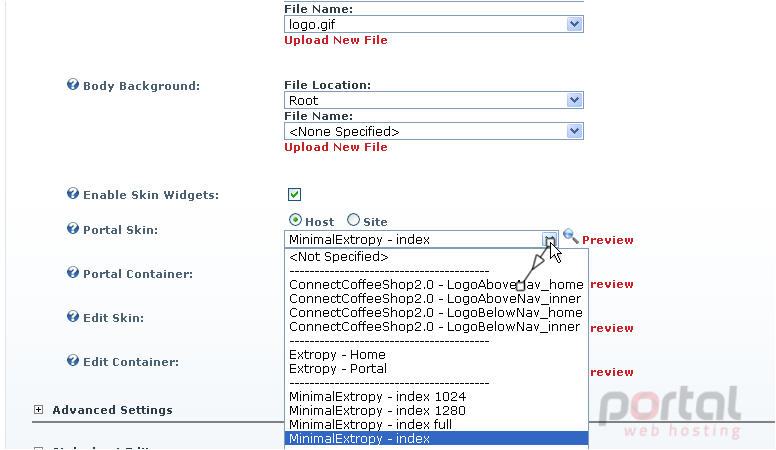
15) When ready click Update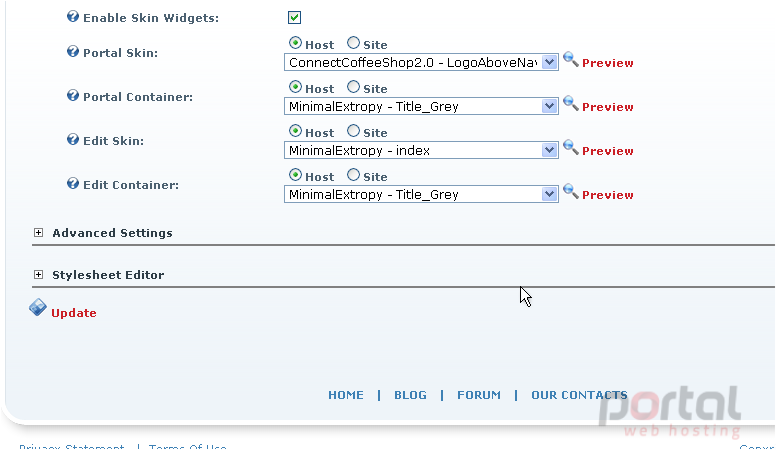
That's it! The third-party skin has been successfully uploaded and the default skin has been changed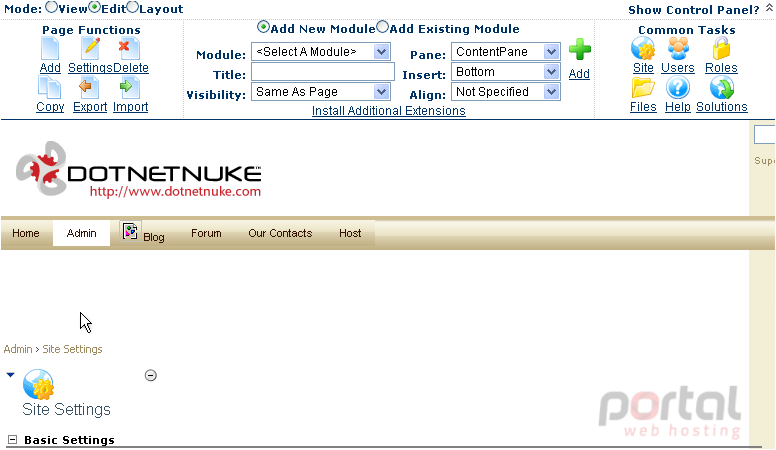
This is the end of the tutorial. You now know how to install third-party skins in DotNetNuke and customize them to your preferences