WHM 11 setup series
12. How to install the DNS ONLY version of WHM on a nameserver
If you have an extra server or VDS that you'd like to use as a nameserver, you can always install the DNS ONLY version of cPanel and WHM. This will allow you to more easily manage and synchronize your DNS records. The requirements, installation, and use of DNS ONLY are all similar to the full version. Check out the first tutorials in this series for details. You don't need a license to run this version, however.
Depending on how many DNS records you have, your server shouldn't need nearly as much processing power or RAM to run DNS ONLY. You must also be aware that, for best results, the server you're using should have a freshly installed operating system. Anything presently on the server might be erased during the installation.
1) To start the installation, enter the server's address above, or choose a saved session here.
2) Then, click Open.
Note that your server may be configured to disallow direct SSH connections using the root user. If this is the case, you'll need to log in as an admin user, then switch users to root.
3) Attempt to log in as root. If this fails, you'll need to find out the admin login info from your host.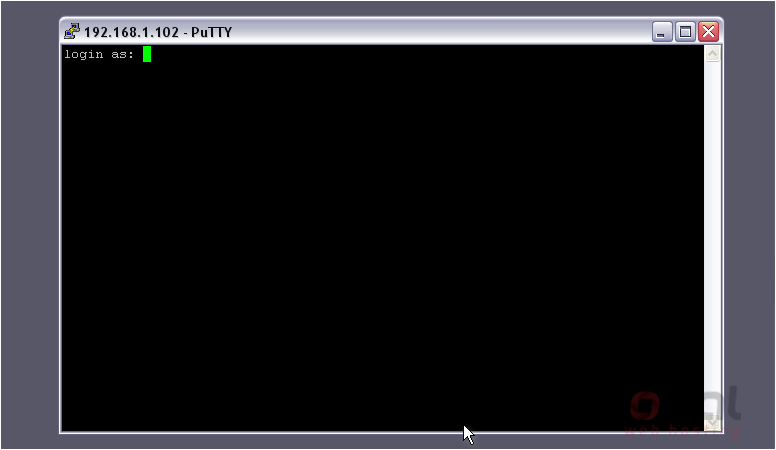
4) Type your password.
You should see a line like this appear after a successful root login.
If you're logged in as an admin, you must first switch users to root by typing su - then pressing Enter. Note that the hyphen is required. You'll be prompted for the root password, then should see a line similar to the one shown above.
5) As root, the first command you'll type is cd /home followed by the Enter key.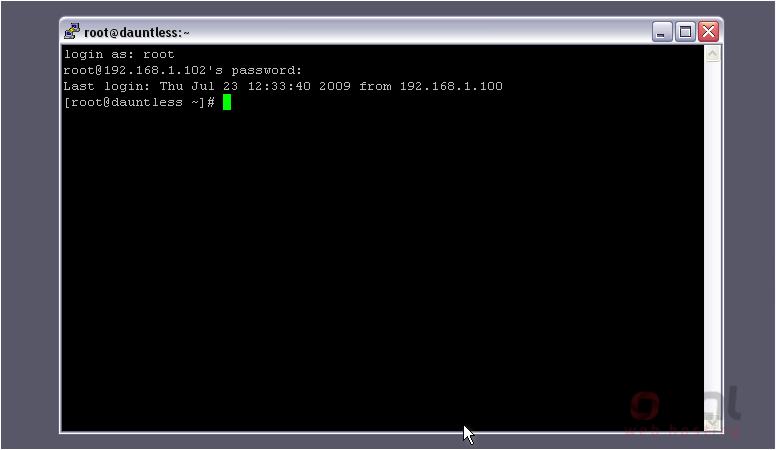
Note that the current directory has changed to /home
6) Next, retrieve the latest version of the cPanel DNS ONLY installer by typing the following command exactly as shown, as always followed by Enter.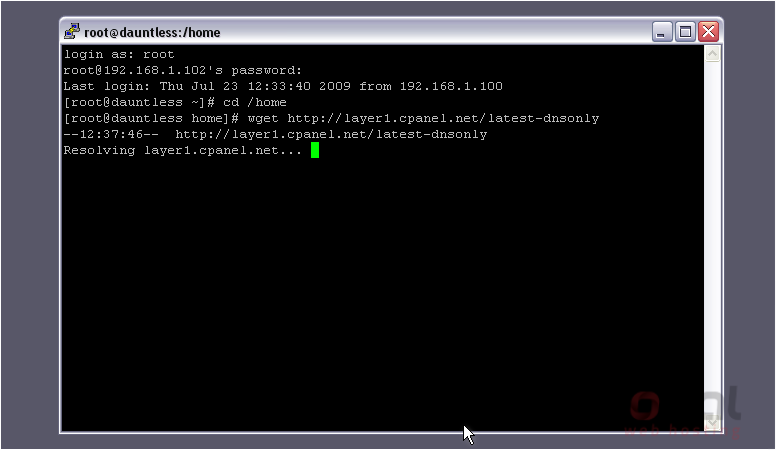
The download should start... then quickly finish. We're now ready to begin the installation.
7) To execute the installer, typesh latest-dnsonlythen press Enter.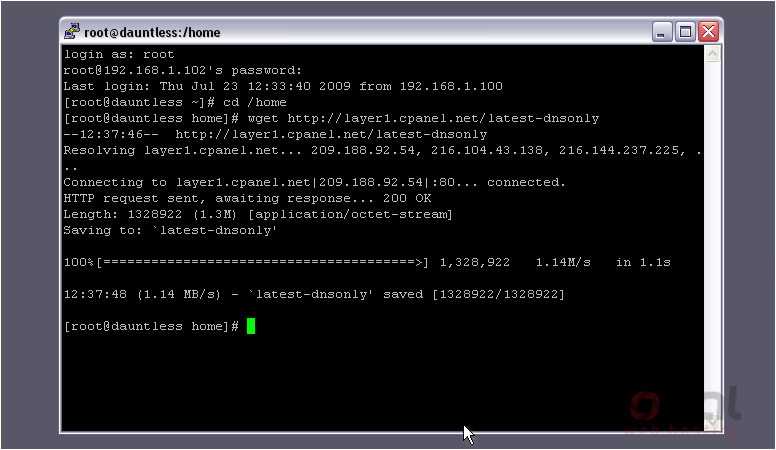
You'll begin to see some output right away.
Here you'll see the installer reinforce the warning that cPanel requires a fresh server without any websites on it. All existing configuration files will be overwritten, so you should hit CTRL+C immediately if you have any sites on your system.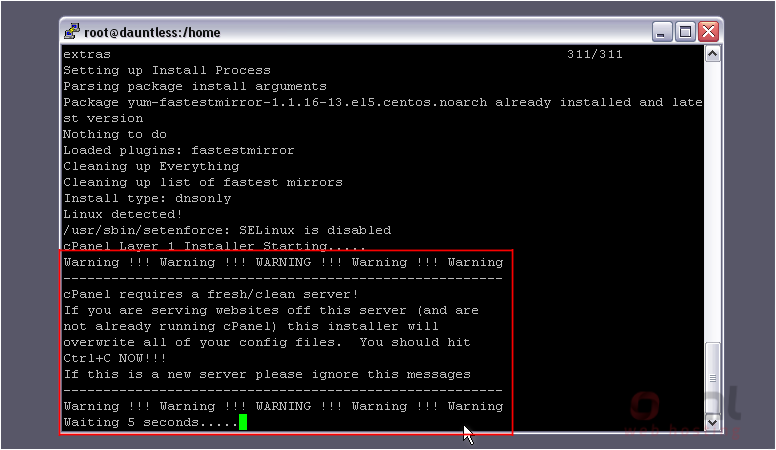
Some amount of time later, the installation will complete. It will probably take at least 15 minutes, but possibly over an hour, depending on your server.
That's it! The DNS ONLY version of WHM has now been installed! If all went well, you should now be able to log in to WHM, just like with the full version.
If you encounter any problems, be sure to check out the support methods shown in the first tutorial of this series.