WHM 11 setup series
17. How to specify the hostname and IP to use for each of your nameservers in WHM
Your nameservers should have been configured during the Initial Setup of WHM. If they weren't, or if you need to make changes to them, keep watching to find out how.
Having a speedy and efficient nameserver setup for your WHM servers is crucial to keeping your customers happy. The more nameservers you have, the less likely it is visitors to your server(s) will notice any DNS-related downtime.
Ideally, you'll have several nameservers spread out across different datacenters. All the nameservers should be set up in a cluster; for details, watch the previous two tutorials.
1) Start by going to Basic cPanel/ WHM Setup.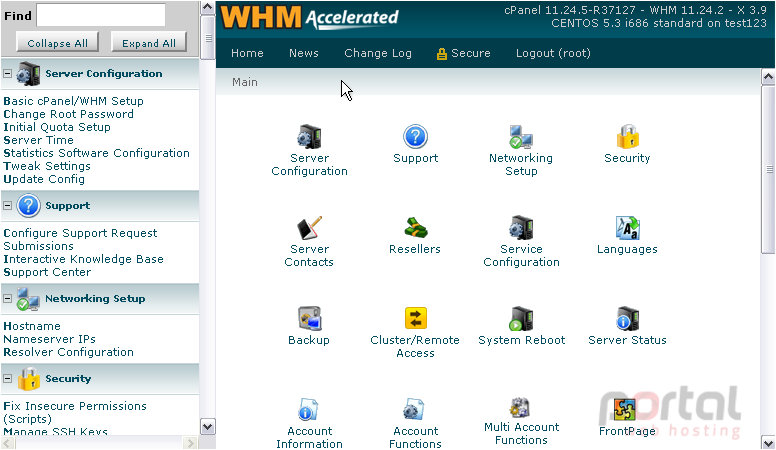
Here are our nameservers. WHM allows you to specify up to four nameservers, but you must have at least two.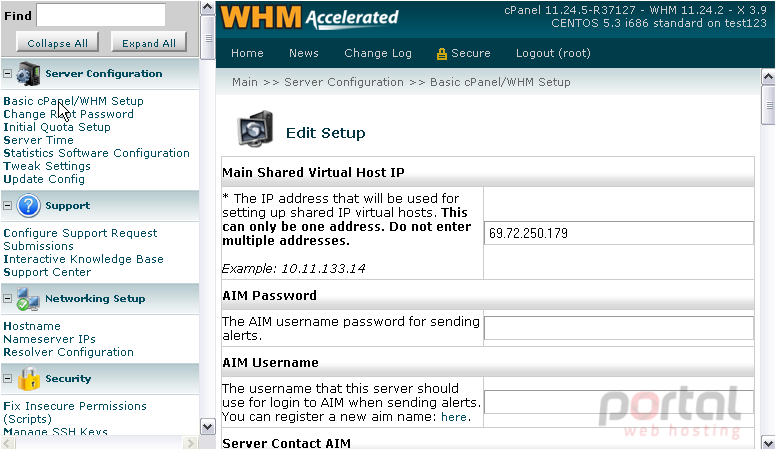
In order to set up nameservers, you'll need an IP address for each one. You'll also need to choose a hostname for each one and specify them both at your domain's registrar. Be sure to create hosts for the nameservers rather than just regular subdomains.
Then, make sure the main domain name is set to use the correct nameservers. For us, NS1 and NS2.demo1234.com should be hosts on our domain as well as the nameservers for the domain.
2) When you've got that all sorted out, enter a hostname for each nameserver using the fields here.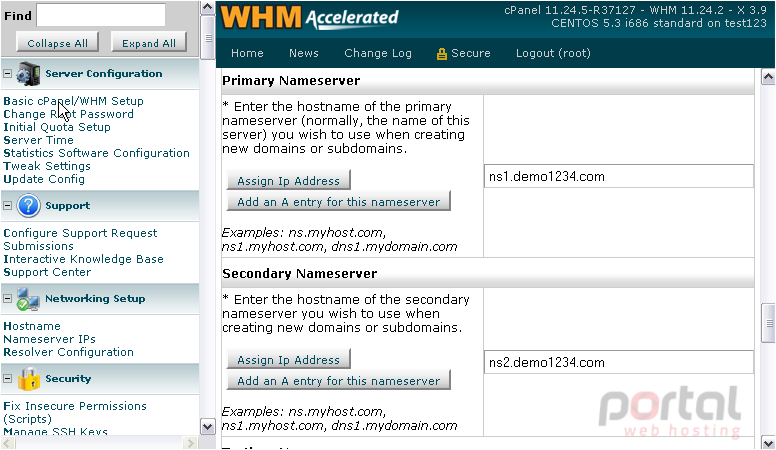
3) Then, you'll need to assign an IP address to every nameserver hosted on this server.
4) You should also add an A entry for this nameserver, if this hasn't been done already.
5) Confirm that the IP is correct, then click Add Entry.
As you can see, a DNS entry already existed for this nameserver and doesn't need to be added again.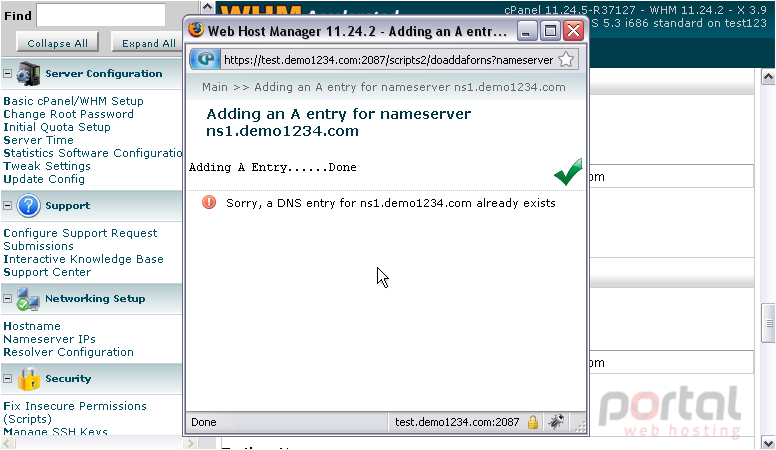
6) Repeat the process using any of the three remaining nameserver fields...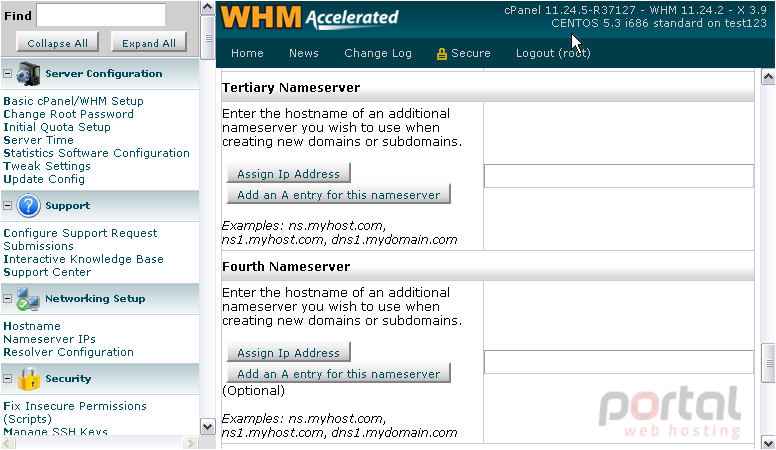
7) Click Save.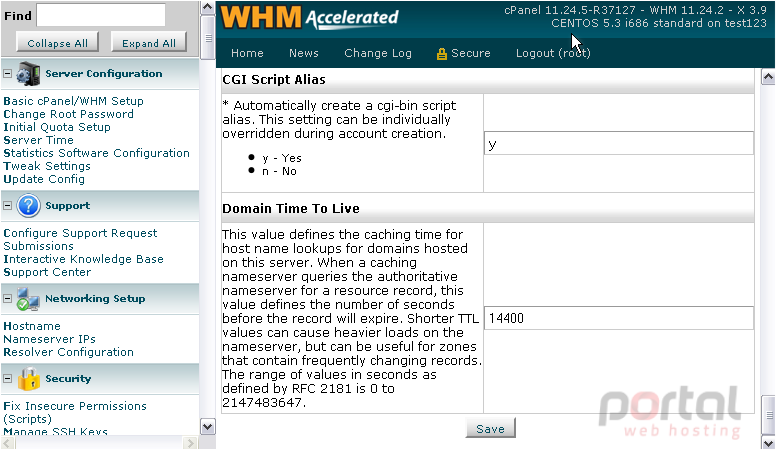
You can also manage the IPs assigned to nameservers with the Nameserver IPs page under Networking Setup.
8) To assign an IP to a nameserver, enter its hostname in the field here.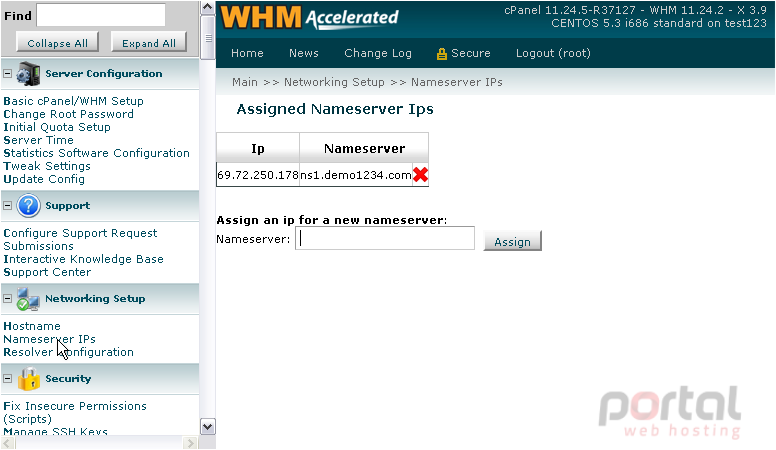
9) Then, click Assign.
An IP address has been successfully assigned.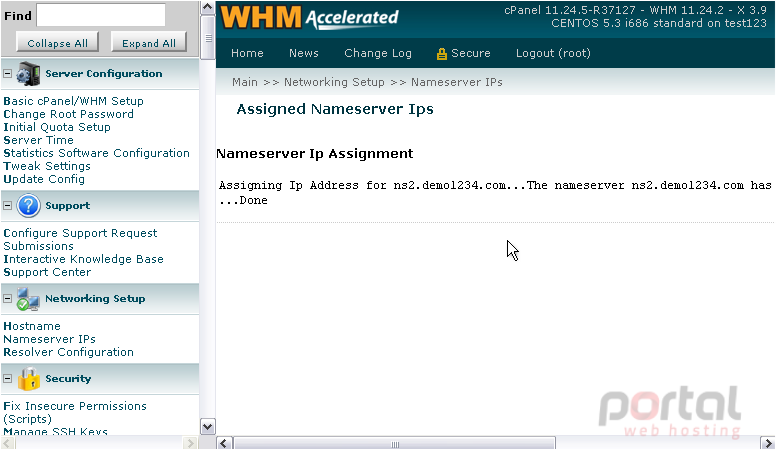
This is the end of the tutorial. You now know how to specify the hostname and IP address to use for each of your nameservers in WHM.