WHM 11 setup series
23. How to use the Security Center to make your WHM server as secure as possible
WHM's Security Center provides you with a number of tools to prevent your server's security from being compromised, as well as some ways to combat any malicious person that causes you problems.
1) To begin, scroll down slightly to the Security category of the menu.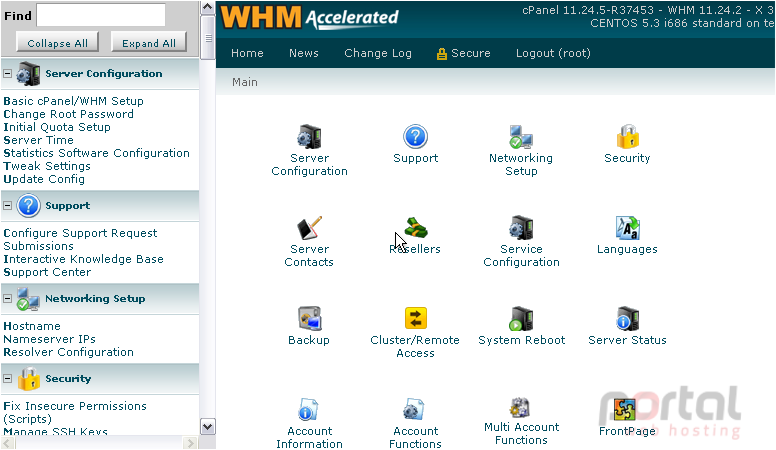
2) Click Security Center.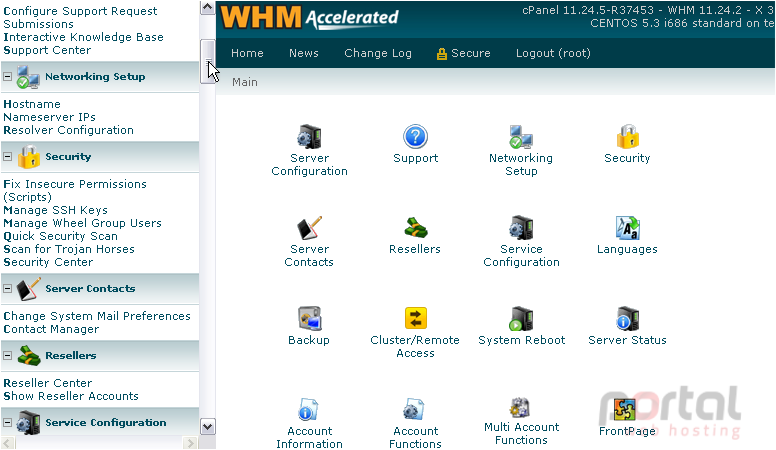
The first page in the Security Center allows you to change the minimum required password strength for each area of cPanel and WHM that accepts a password. Let's take a look.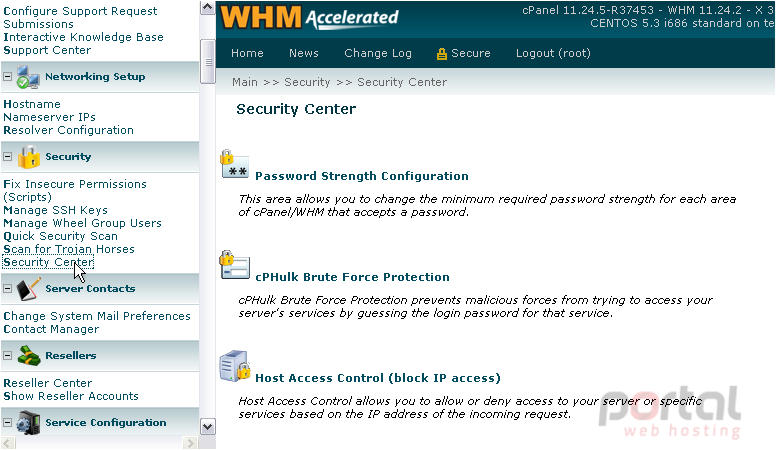
By default, WHM and cPanel do not enforce a minimum password strength. Enabling this can help prevent users from setting easy-to-guess passwords, depending on the settings you specify.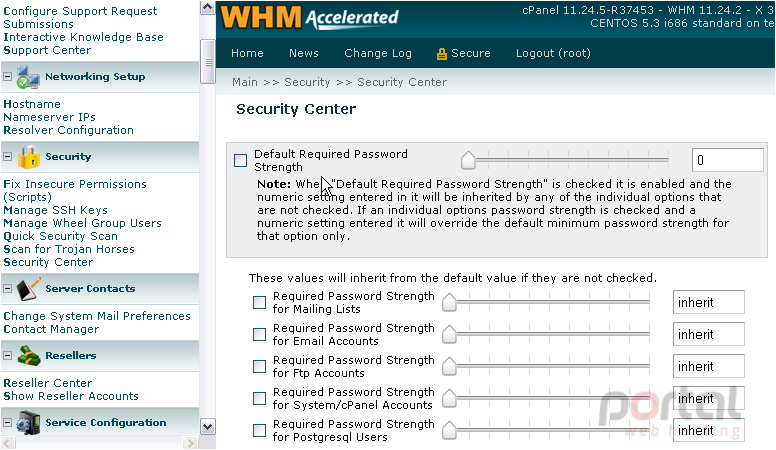
3) Click the checkmark here to enable this feature.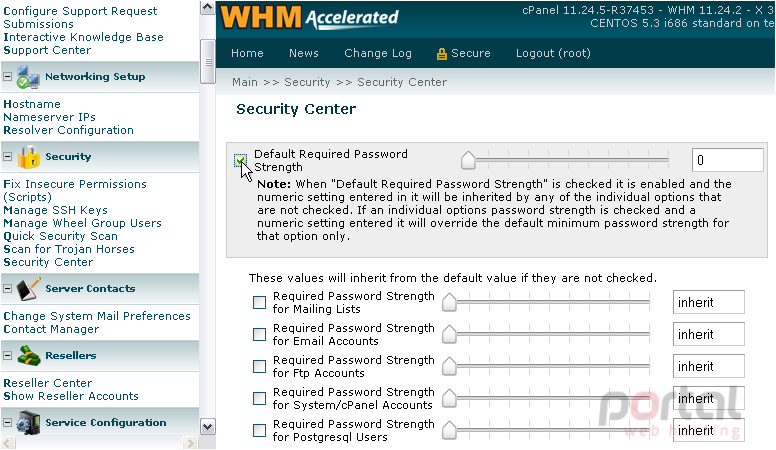
4) Now, drag the slider over to the desired setting, or type a number at right.
While it's true that putting the settings at full strength can cause frustration for your account owners, the key here is to balance security with sensibility.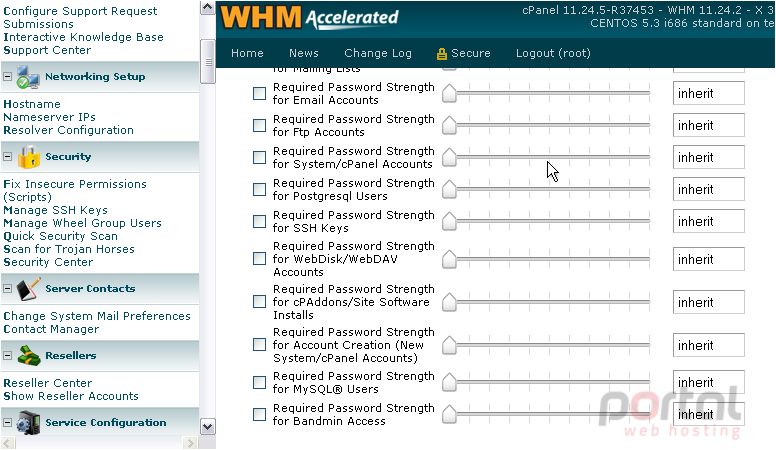
The default setting is applied globally to all the password types listed below. You can consider each one on a case-by-case basis, if you want.
The majority of your clients are going to store their MySQL passwords in configuration files and not use them frequently. We'll customize the settings for that type of password.
5) Click the checkmark to stop it from inheriting the default value.
6) Then, choose a new minimum strength.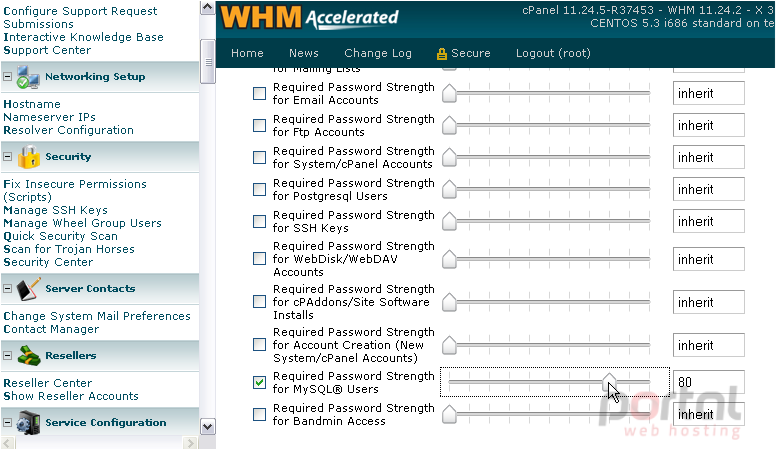
Several other passwords here should probably be stronger than average, but we'll leave that up to you.
7) Click Save.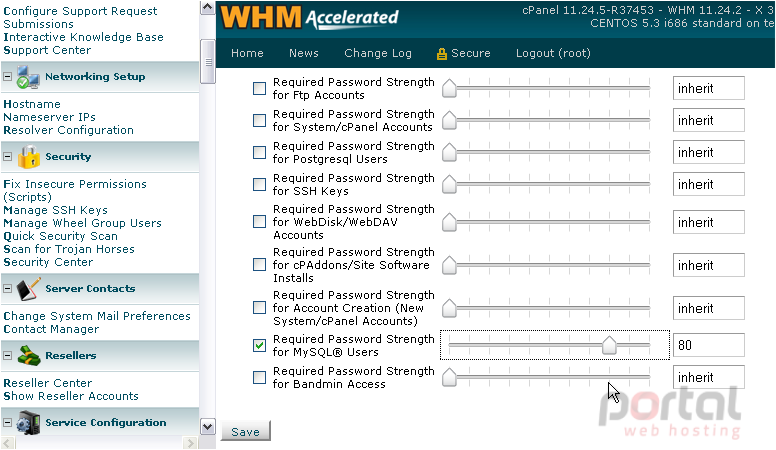
8) Return to the Security Center.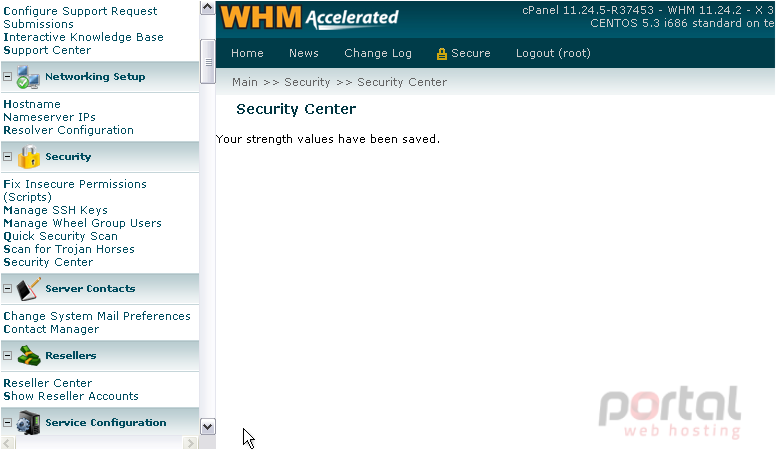
Another important security feature of WHM is cPHulk Brute Force Protection. This feature helps prevent malicious forces from repeatedly guessing your passwords until successful.
This should have been enabled during Initial Setup, but ours didn't stay that way, for some reason.
9) Click the Enable button to fix that.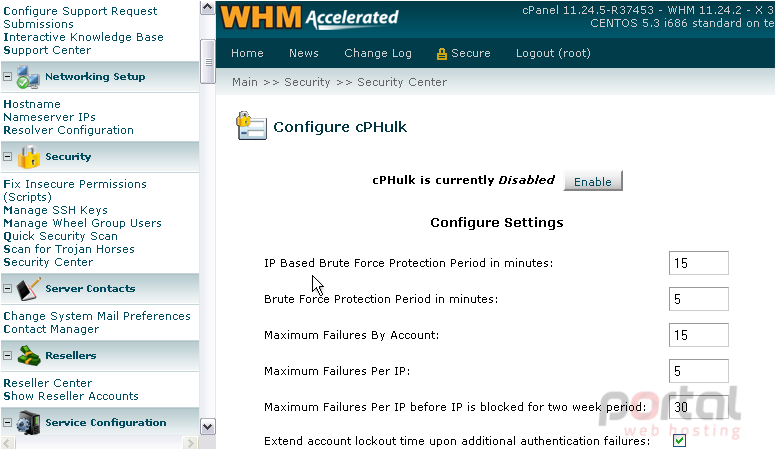
There are a number of settings you can customize for cPHulk, but the defaults should work just fine.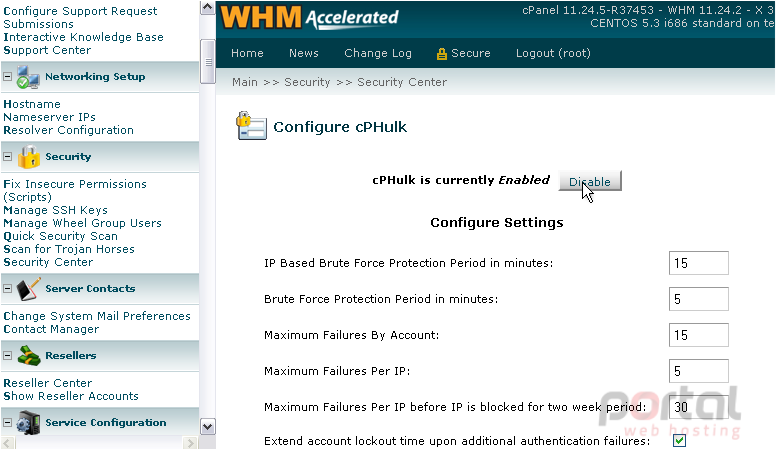
You may eventually need to flush the cPHulk database. Use the Flush DB button to delete all the records it contains.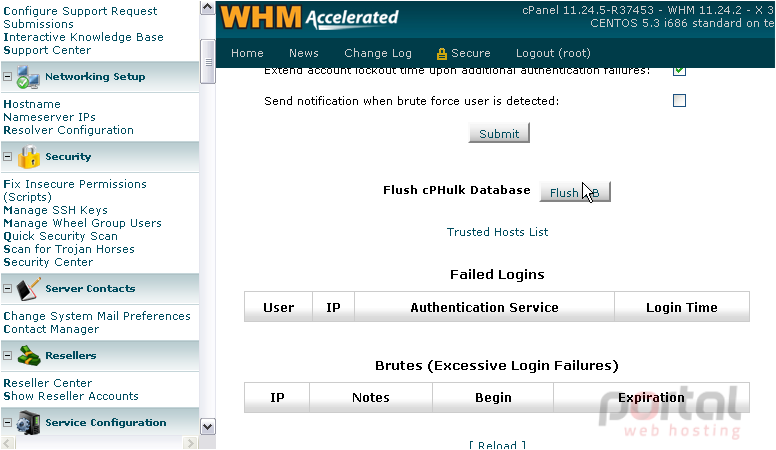
The Trusted Hosts List page allows you to list hosts and IP addresses that should never trigger the cPHulk protection.
Below, you'll also find a list of all failed logins, as well as all blocked IP addresses.
10) Click Submit when you've finished here, if you changed any settings.
Host Access Control enables you to allow or deny access to your server or specific services based on the IP address of the incoming request.
With SSH Password Auth Tweak, you can strengthen security by disabling password authentication for SSH connections. PHP open_basedir protection should in most cases be turned on. It will prevent the use of PHP to access files outside of a user's home directory. The Apache mod_userdir Tweak allows you to prevent users from getting around your bandwidth restrictions.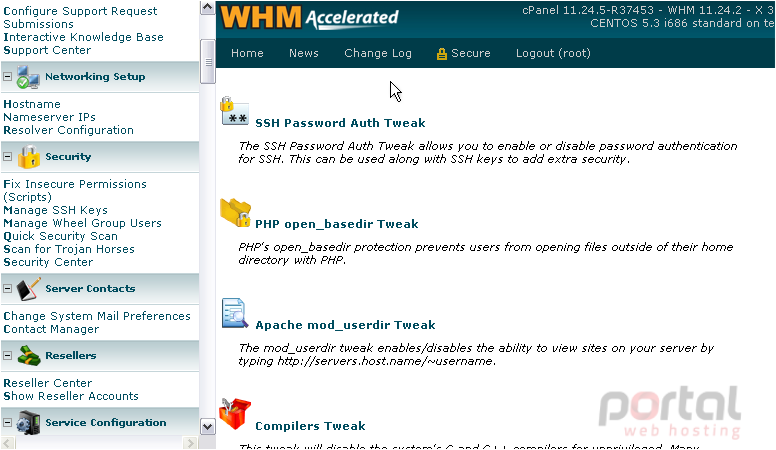
Note that both the PHP and Apache tweaks allow you to lift the restrictions for certain users or websites.
With Compilers Tweak, you can disable your system's compilers for unprivileged users. Most people will not need or want access to the compilers, so it's safe to turn this off. You can make exceptions for certain users, if needed. Your system's traceroute tool can be used by a hacker to gain information. This is disabled for unprivileged users by default, and you should have no reason to enable it.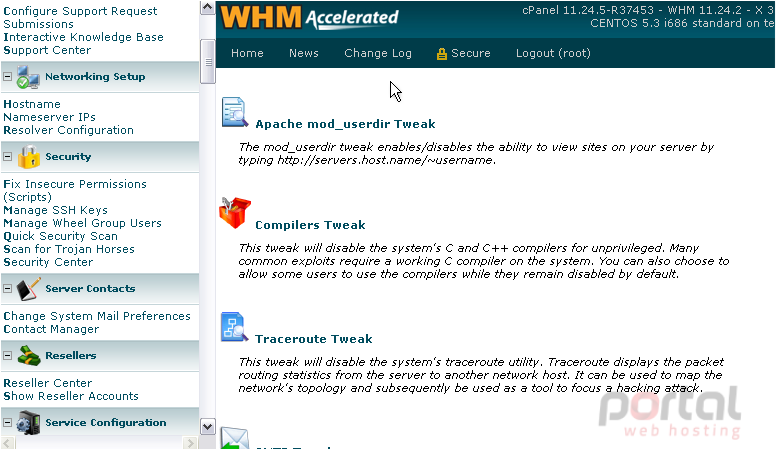
Enabling the SMTP Tweak will prevent spammers from bypassing your outgoing mail server to send spam. The last item on this page is Shell Fork Bomb Protection. You should definitely enable this if you intend to give any users shell access with their accounts, as it will help prevent them from using up your server's resources.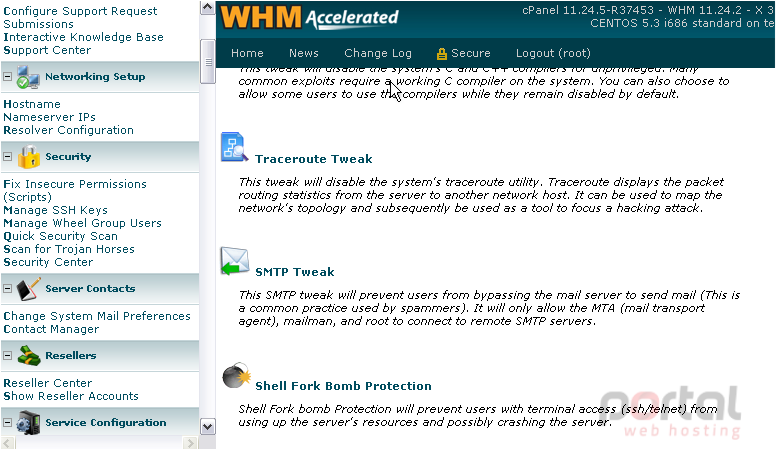
This completes the tutorial. You should now have a good idea how to use everything in the Security Center to make your server as secure as possible.