WHM 11 services series
22. How to manage DNS zones in WHM
All the information about a domain -- its hosts, nameservers, subdomains, mailservers, et cetera -- is stored in what's known as a DNS Zone file. These zone files are used by your nameservers to tell other computers where to find the websites on your server.
WHM contains a number of tools that allow you to manage your zone files. They're in the DNS Functions category of the menu.
1) Let's start by adding a new DNS Zone.
2) Enter an IP address to use for the domain name.
3) Then, enter the Domain Name itself.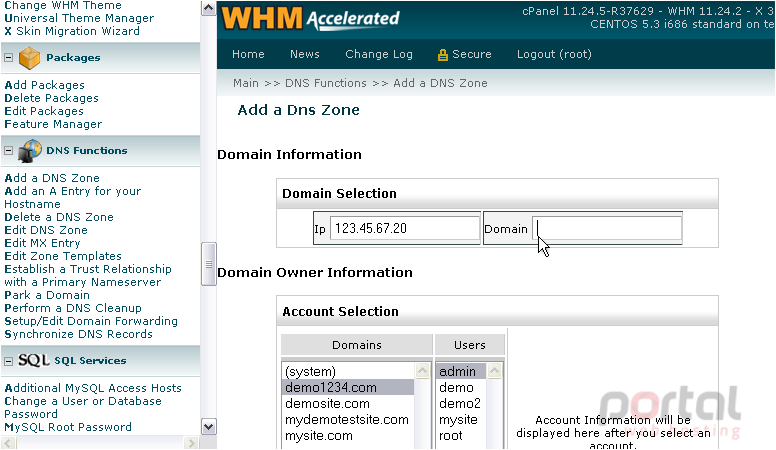
4) Finish by choosing which account should own the new domain name. You can also assign the domain to the system, if it shouldn't belong to any user.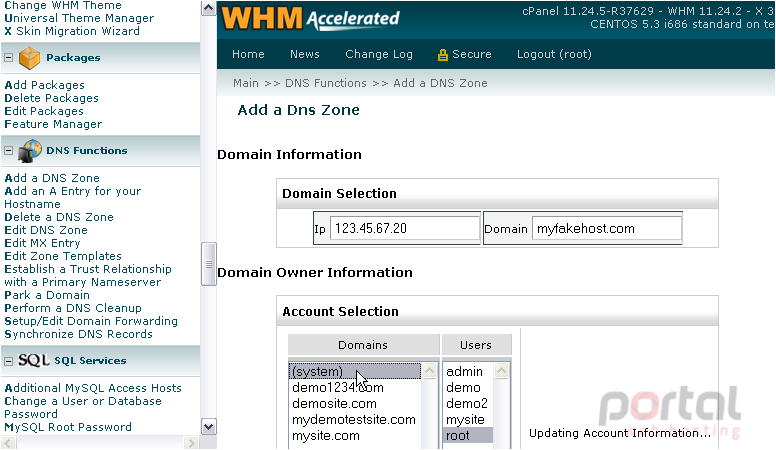
5) Click Add Zone to save.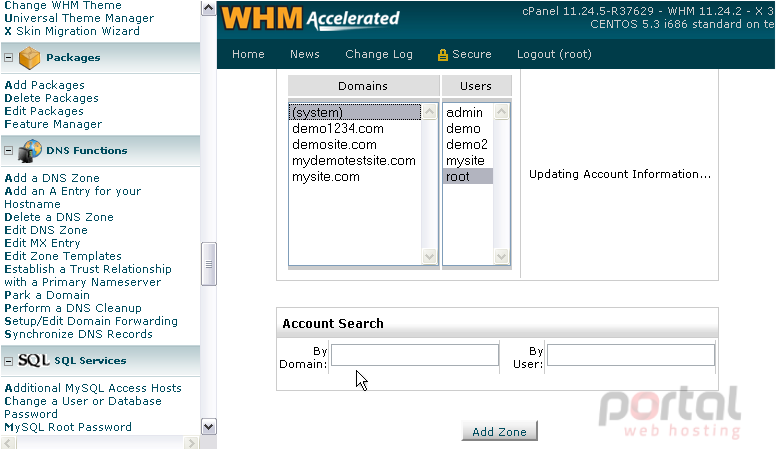
The new DNS zone has been created successfully using the standard zone template.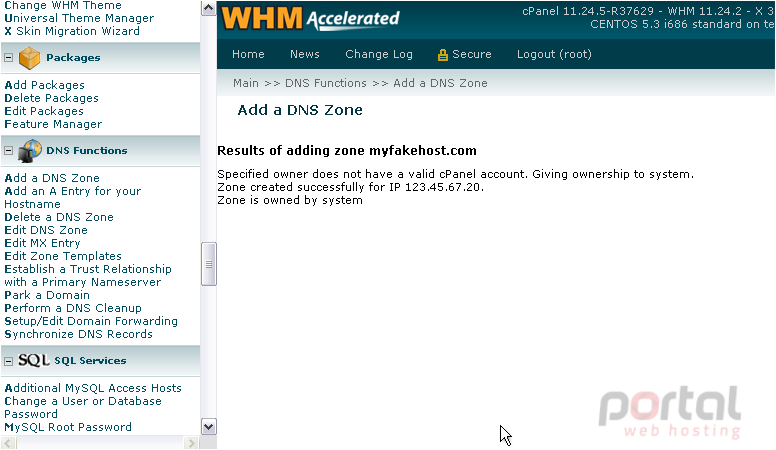
Let's edit the zone.
6) Select it from the list.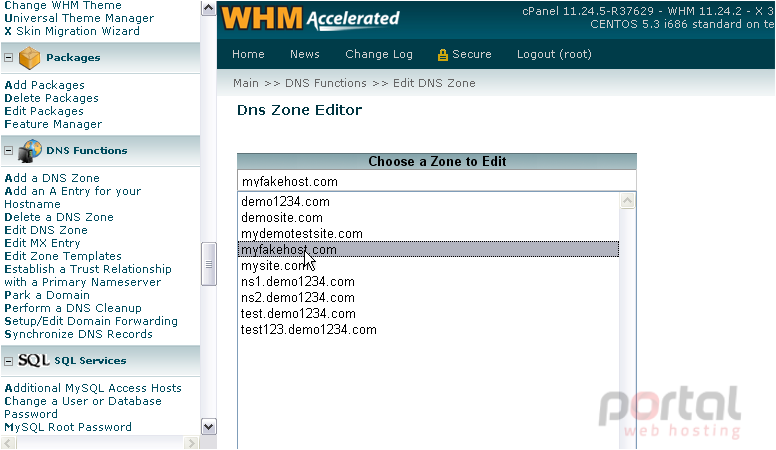
7) Hit the Edit button.
Since this page is fairly large, let's open this frame in a full-sized window for the sake of this demonstration.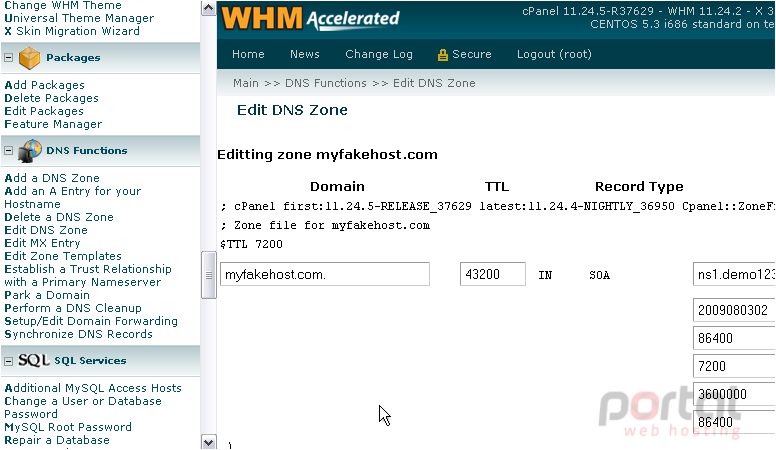
You shouldn't need to edit anything in this first section of text fields, except for the Serial Number. This number lets DNS resolvers know when this record has changed.
In order to generate this number, WHM uses the current year, followed by the current month, the current day, and the current hour. Splitting up the serial number shown here, you can see each component: 2009 08 03 02
You should update the serial number in a similar fashion whenever you make changes to this zone.
Here are the DNS records in a zone you're most likely to worry about. Starting at the top, you have the Nameserver (or NS) records. Then, the A records, which represent the hosts of this DNS zone. An A record points to an IP address, as you can see these do at right. Any hostnames should be specified using A records, as of course should the domain name itself. Next we have MX records. MX stands for Mail eXchange. Specify all the mail servers for this DNS Zone with a priority number at right. A zone can have more than one mail server with the same priority.
In this case, our zone has one MX record with priority of 0. It's okay, in fact typical, for the MX record for a domain to be the domain itself.
The final type of record in this zone is a CNAME record. CNAMEs are used to create subdomains, such as mail and www. Enter the domain name in the field at right.
You may have noticed the trailing dot on some of these entries. When entering domain names here, they must be fully qualified. This trailing dot signifies the absolute end of the domain name. Think about it like a Windows path in reverse; the dot serves the same function as C: does.
When dealing with subdomains, the desired functionality is to have the rest of your domain name appended onto the end. Since you've entered the domain name at right, the subdomain at left shouldn't be fully qualified. Not fully qualified... no dot at the end.
8) Now that you've learned all about the different kinds of records, let's add a few. We'll add two nameserver hosts.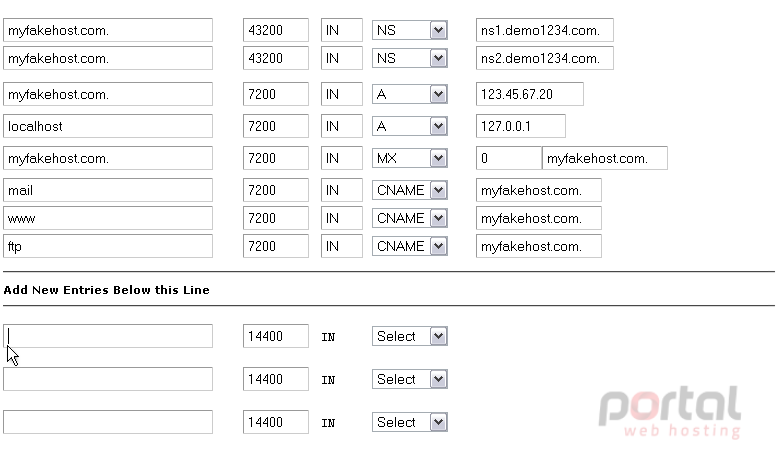
9) This number represents the record's Time To Live -- TTL, for short. It tells a DNS resolver when to check our nameserver for updates.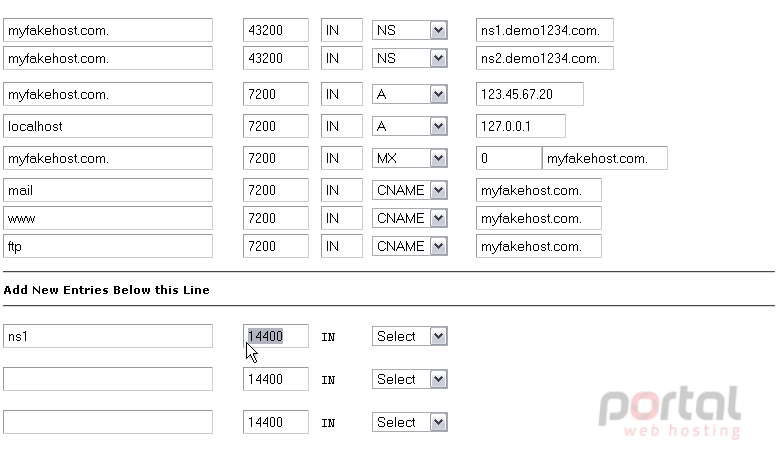
10) Specify a TTL in seconds. The default is 14400, or four hours, but we've changed our default to half that value.
Remember -- hosts should be A records.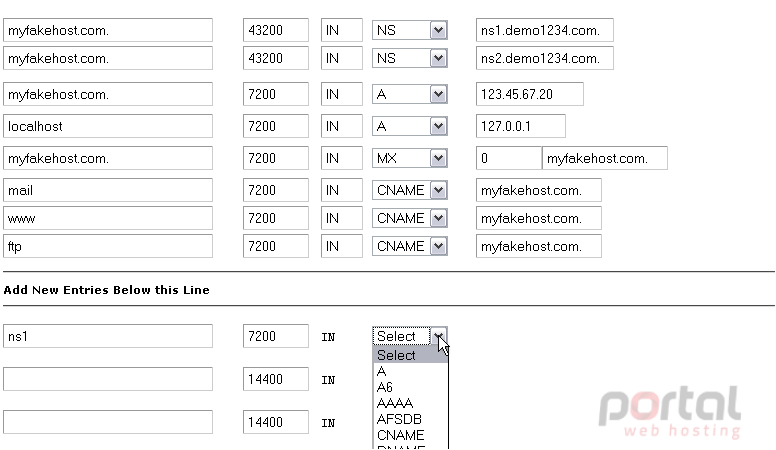
11) Finish by entering an IP for this record.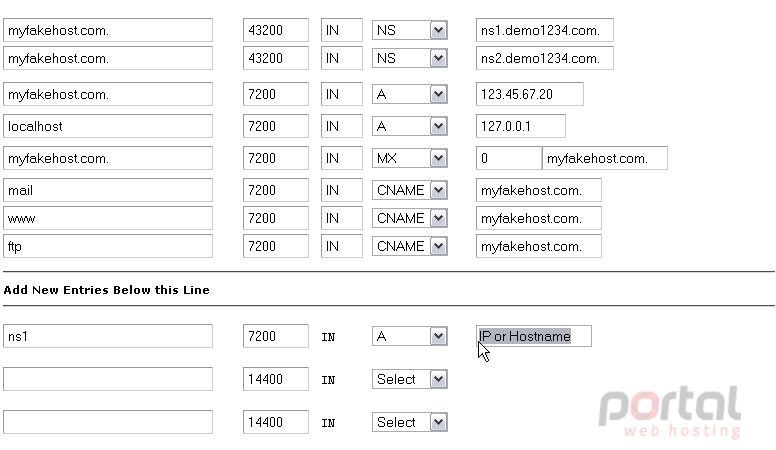
12) Now, repeat for a second nameserver host.
13) Click this checkbox if you want the local mailserver to accept mail for this domain even if the primary MX record you indicated does not point to this server.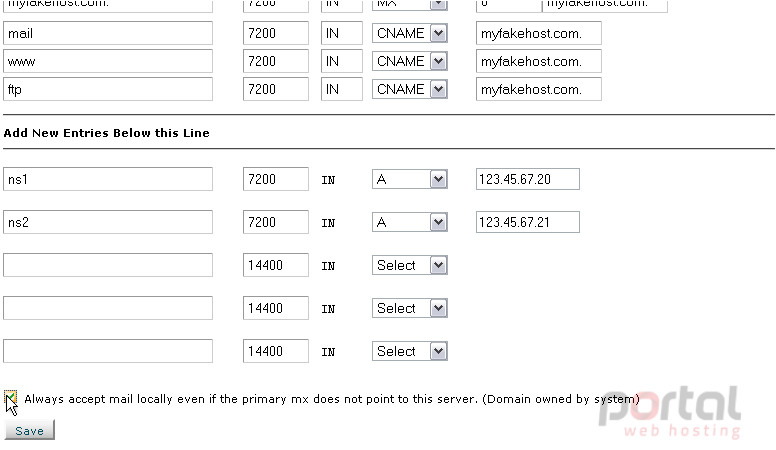
14) When finished here, click Save.
That's it! The zone file has been modified. Now, let's delete the zone.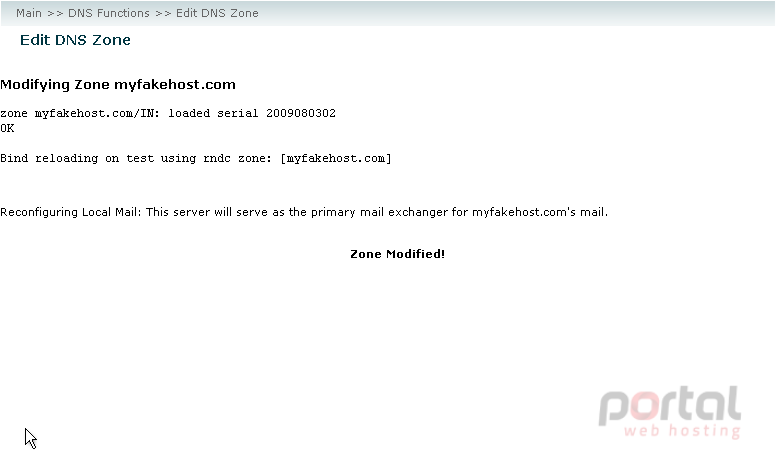
15) Use the Delete a DNS Zone tool.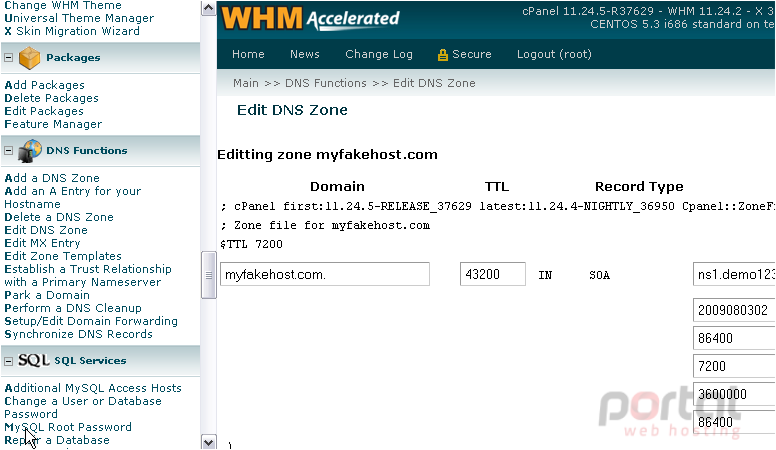
16) Select the zone from the list. Note that you can select multiple zones, if you wish.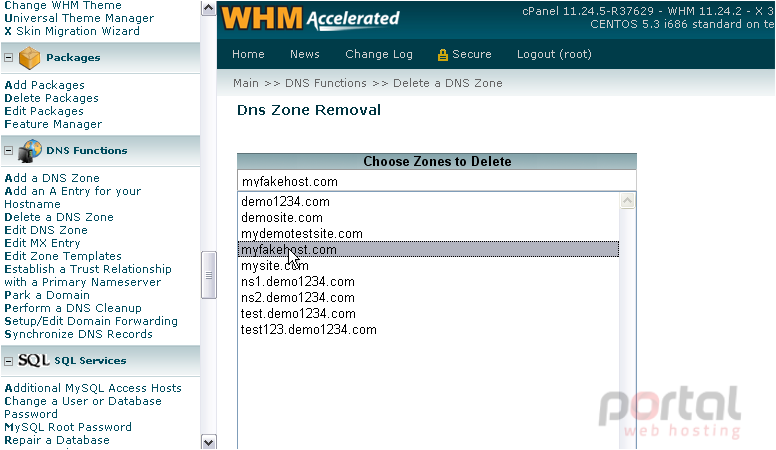
17) Click Delete.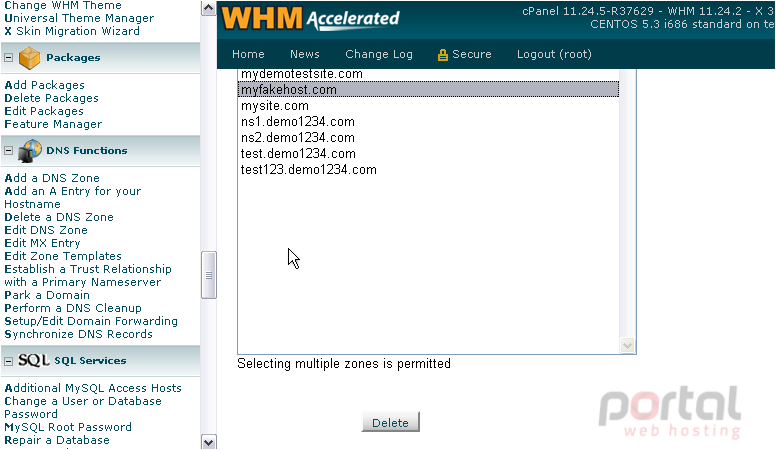
18) Confirm the deletion.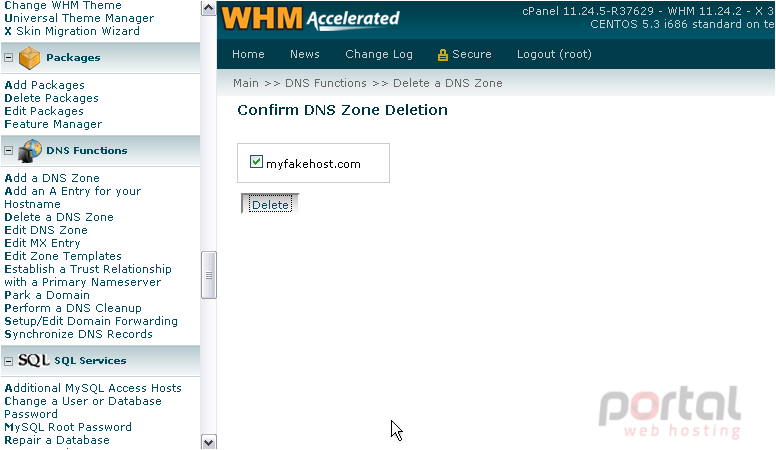
The zone has we created has now been removed from the server.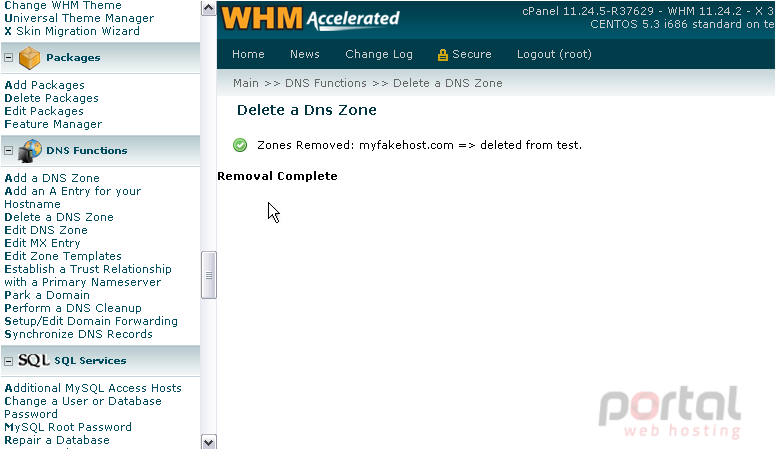
19) WHM provides you with another way to edit a zone's MX records. Click Edit MX Entry.
20) Choose a domain to edit.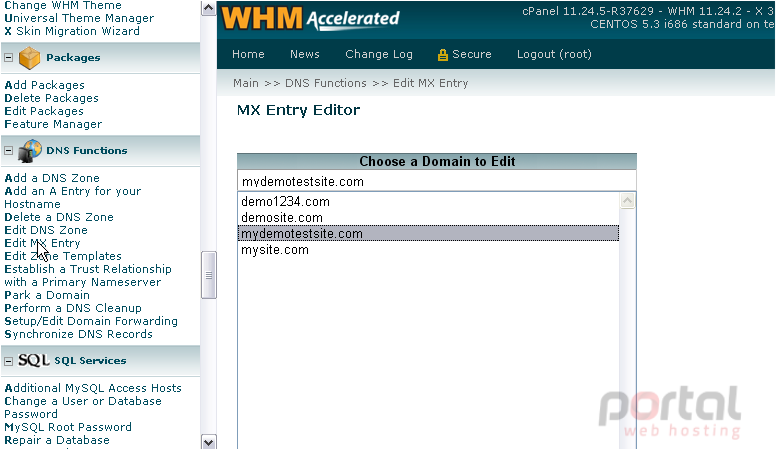
21) Click Edit.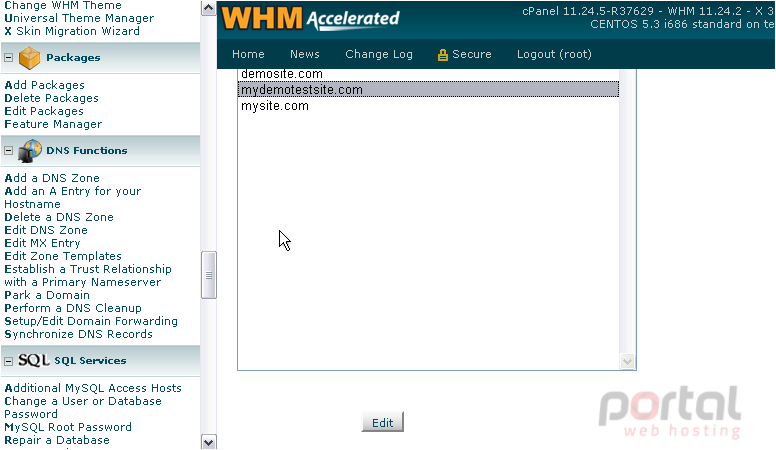
22) Enter a destination mailserver, changing the priority if you wish.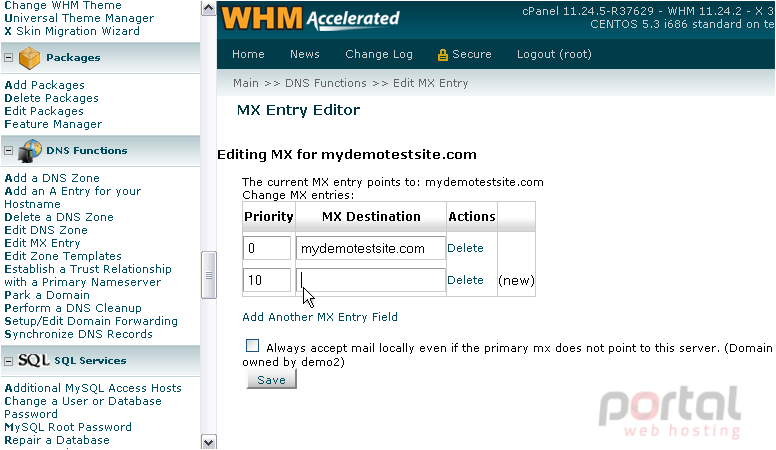
23) You can add another MX entry field with this link.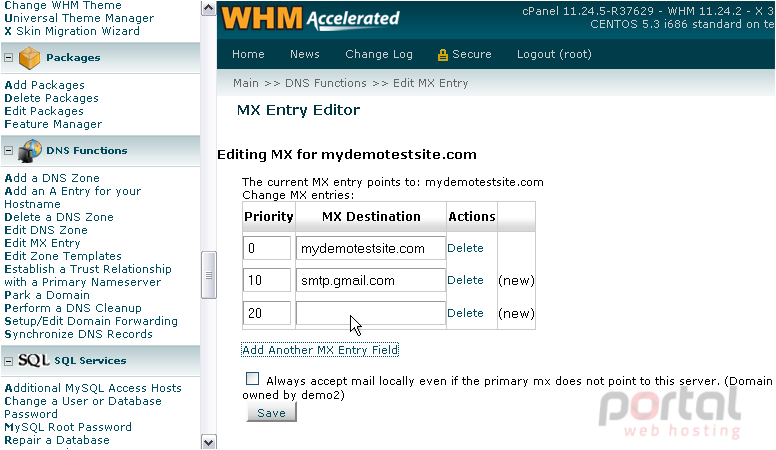
24) Or, Delete a field as such.
25) When finished, click Save.
The domain's zone file has been updated to reflect the changed MX records.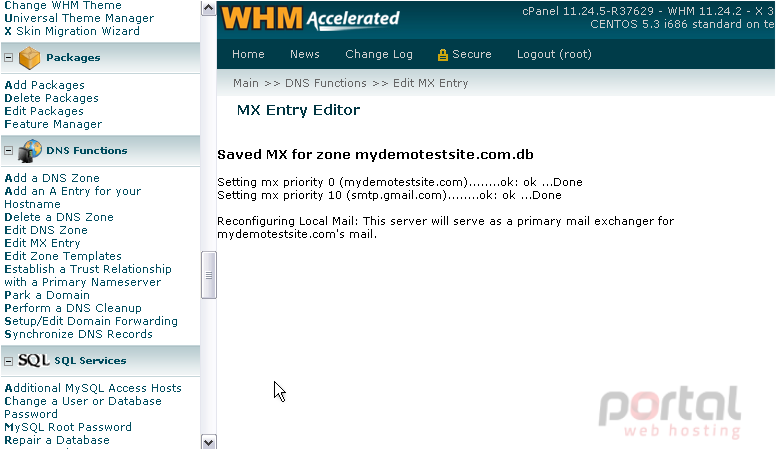
This is the end of the tutorial. You now know how to manage DNS Zones in WHM.