File Manager for cPanel
7. How to upload and download files with File Manager
This demo assumes you've already logged in to cPanel's File Manager.
1) Click Upload to go to the upload page.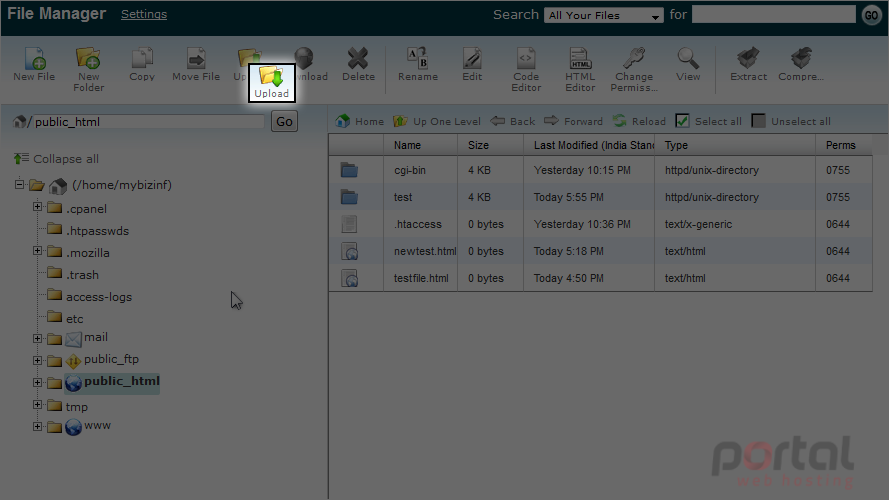
Now let's understand the content of the page.
This info tells you that you have a file size limit of 999.58 MB for this account. This may be different depending on the account type you have.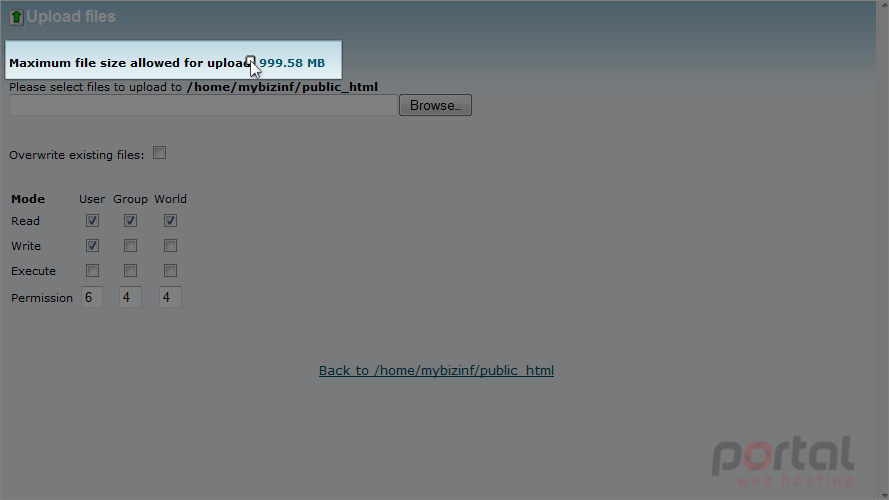
Please note that the upload page will be opened in a new tab of the browser.
If checked, this option allows you to overwrite files if they are already found in the same folder.
You can set permissions for the files here. We will learn about this in the next tutorial. For now leave it as is.
2) Now let's upload a file. Click the Browse button to select the file from your computer.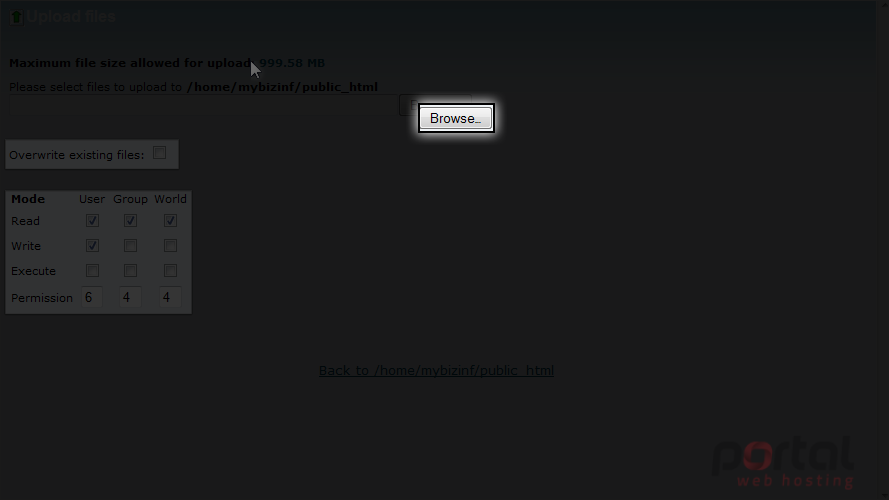
3) Now select the file you want to upload. Let's upload "Chrysanthemum". Double click it to continue.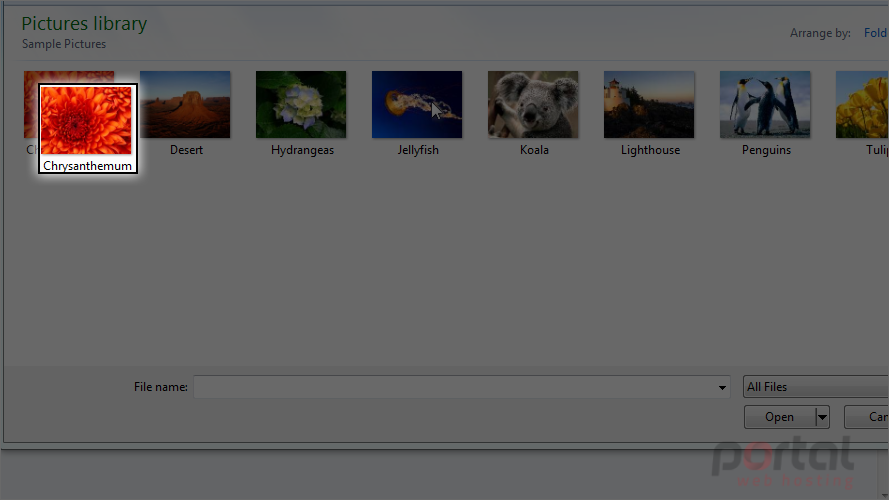
You will see the file name in the box. The uploading process will start automatically, and soon a progress bar at the bottom right will appear.
The process has been started.
Information will be provided about the upload progress... Such as, the amount uploaded, percentage, estimated time and upload speed.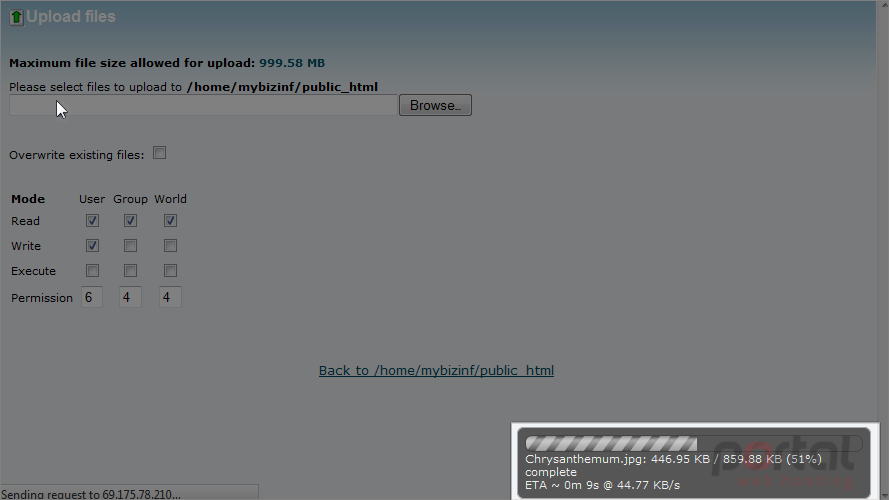
4) Now the upload has completed. Close this tab and go back to the File Manager.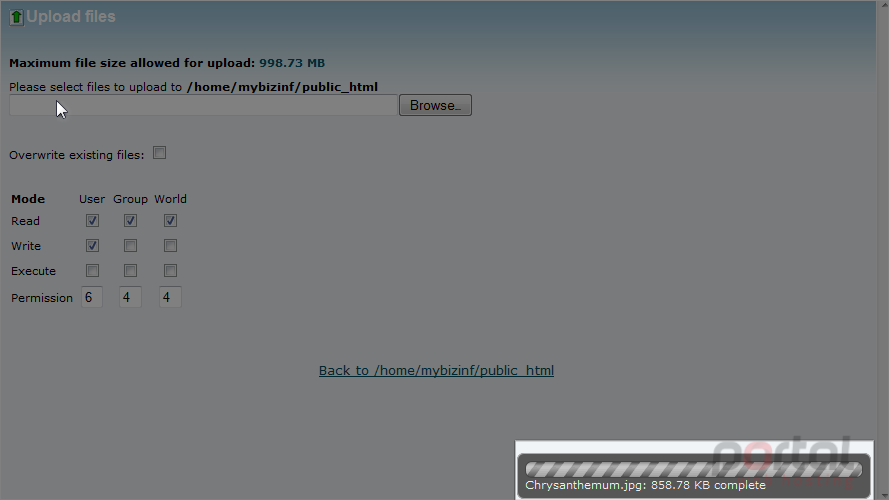
5) Click Reload to see the file.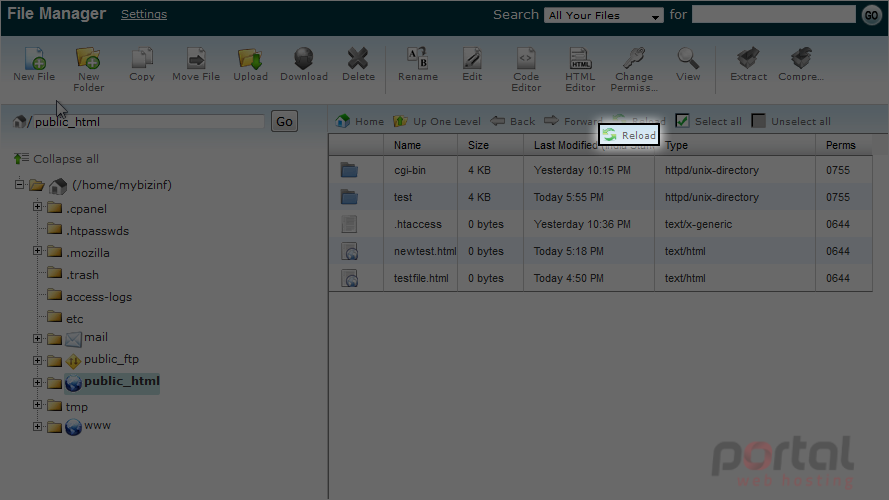
You have successfully uploaded the file.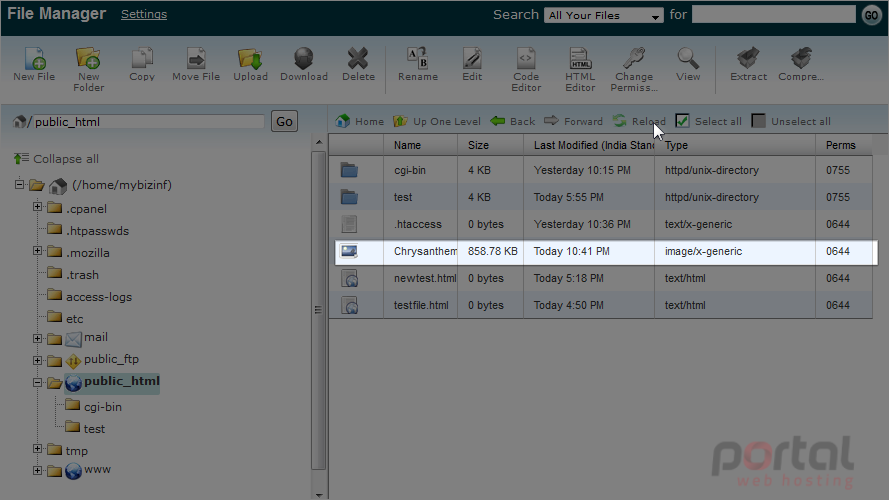
6) Now let's download a file. Select "testfile.html" by single clicking it.
7) Now click the Download button.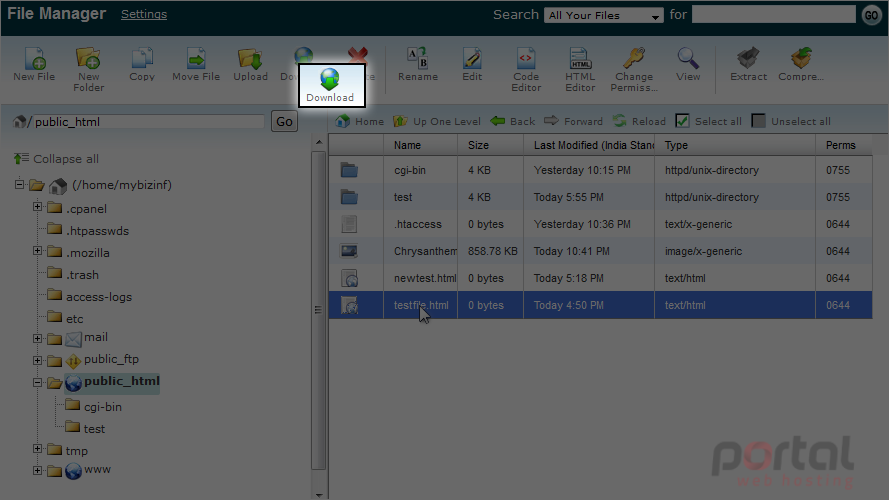
8) You will see a popup window asking you to open or save the file. Select Save File.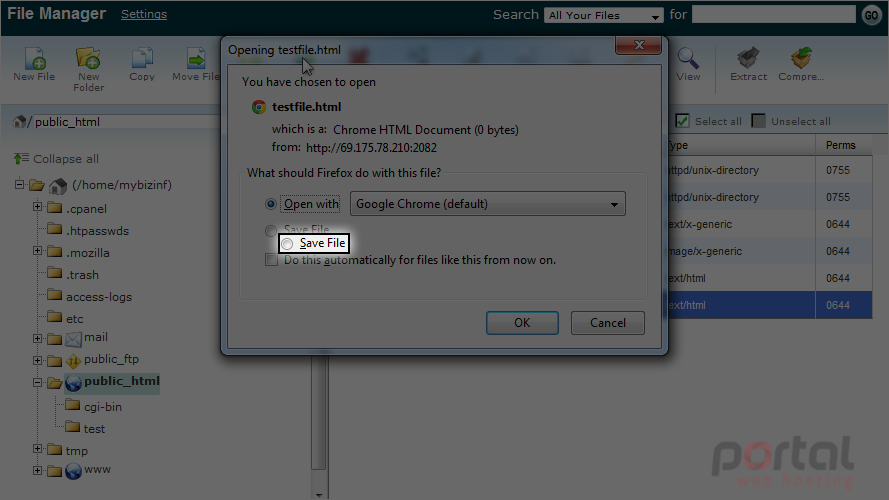
9) Good! Now click OK to continue.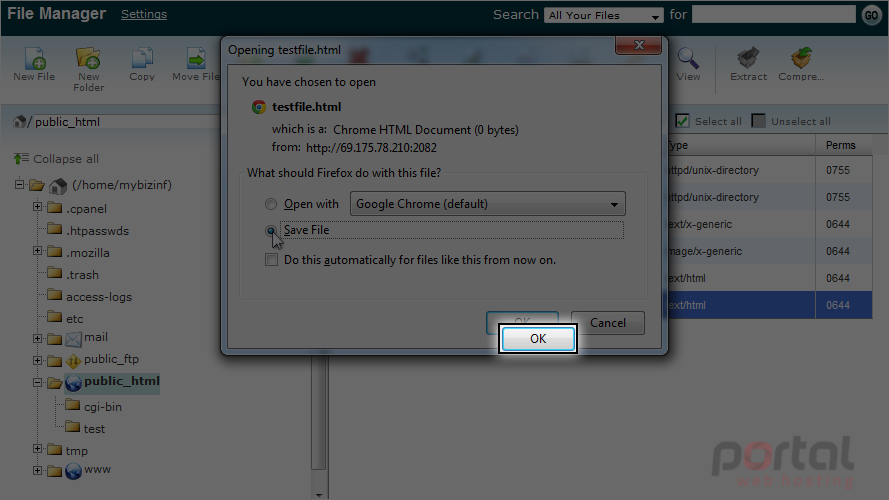
That's it! You have successfully downloaded the file.
This is the end of the tutorial. Now you know how to upload and download files with File Manager.