Parallels Plesk Panel 11 end-user series
22. How to install SSL certificates in Plesk
SSL certificates are used for establishing secure communication channels on the internet and for verifying website identity. When users visit a secure online store, they are notified that all sensitive data, such as credit card numbers, will be transferred over a secure channel.
1) To access your DNS zones, go to websites & domains.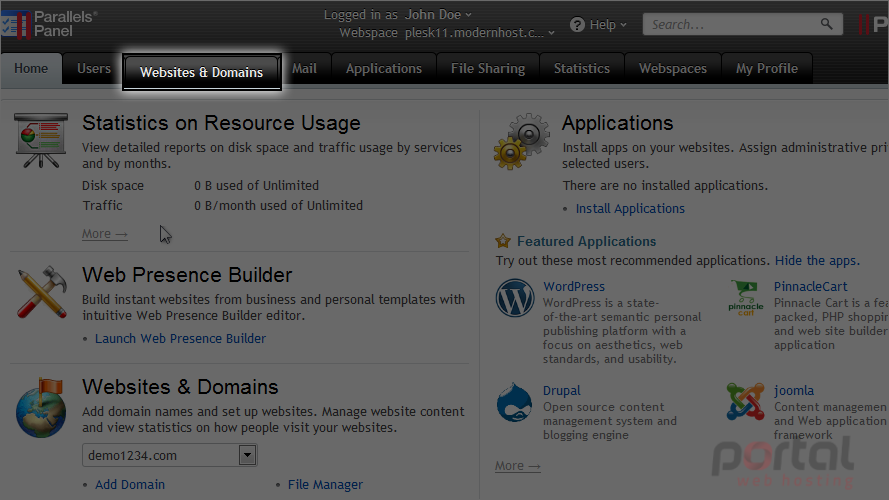
Let's see how to install SSL certificates in Plesk.
2) Go to secure your sites.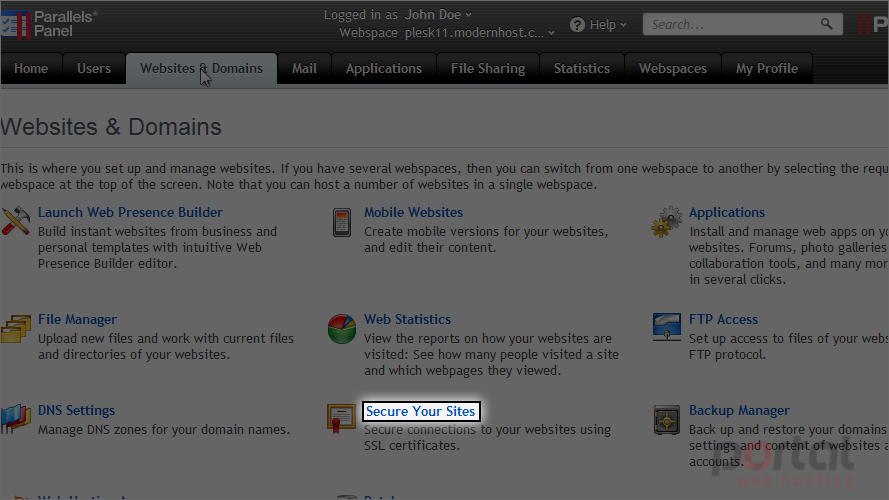
3) Click manage next to the domain for which you want to create a certificate.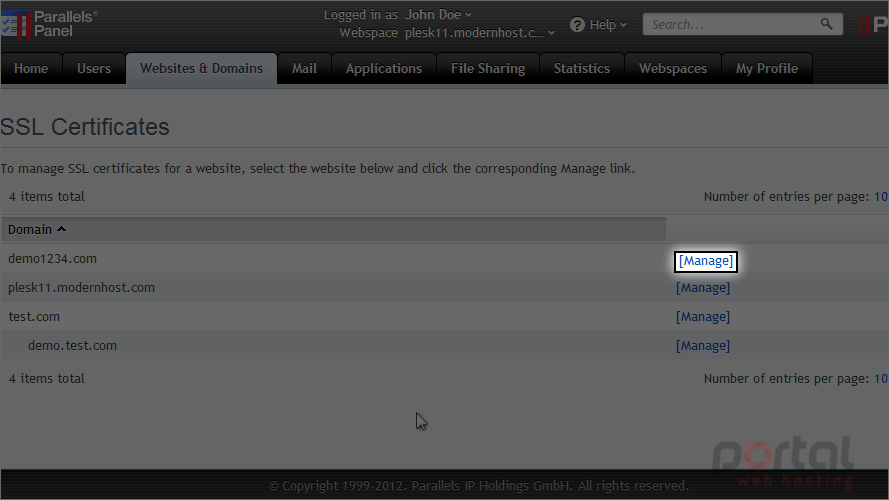
4) Click add SSL certificate.
5) Enter a name, for your records only.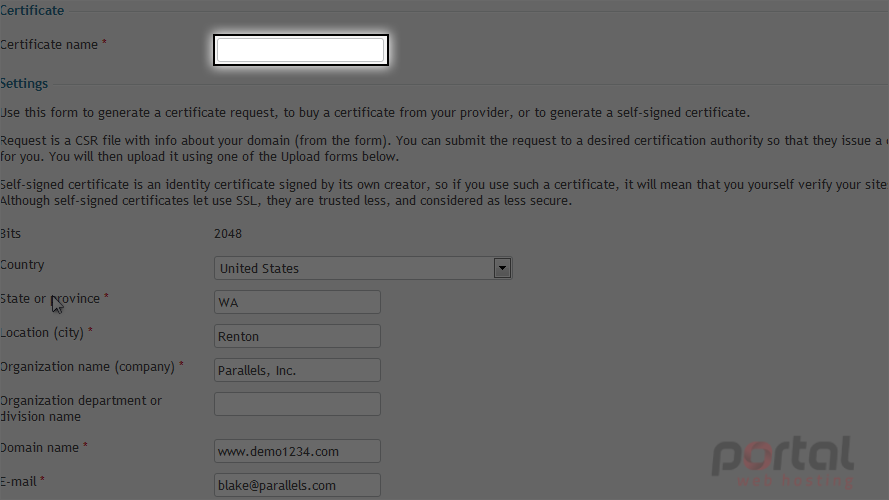
6) Make sure the provided information is correct, then click request.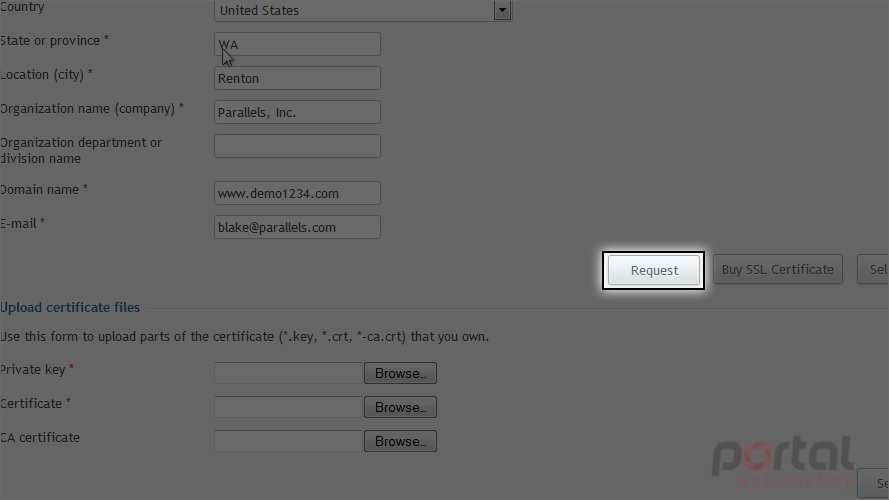
7) Click the name of the certificate.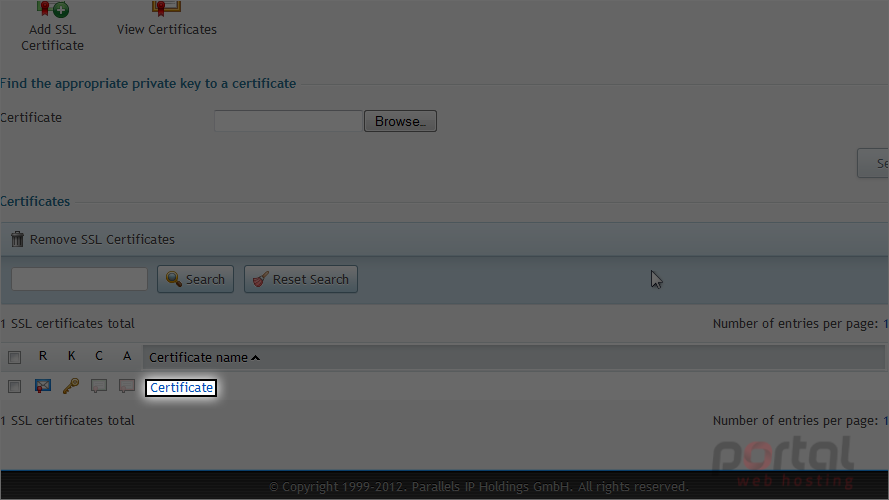
8) Locate the CSR section.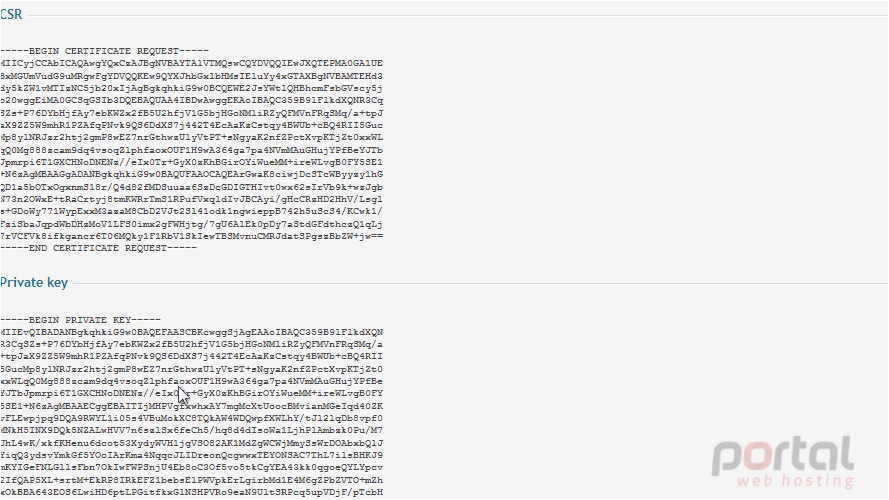
Here is the certificate request and private key that were generated when we clicked the request button. You will need to provide this information to an SSL vendor when purchasing a certificate.
Once you've purchased the certificate, you will need to upload the file or paste it as text here.
9) Click cancel to return to where you were.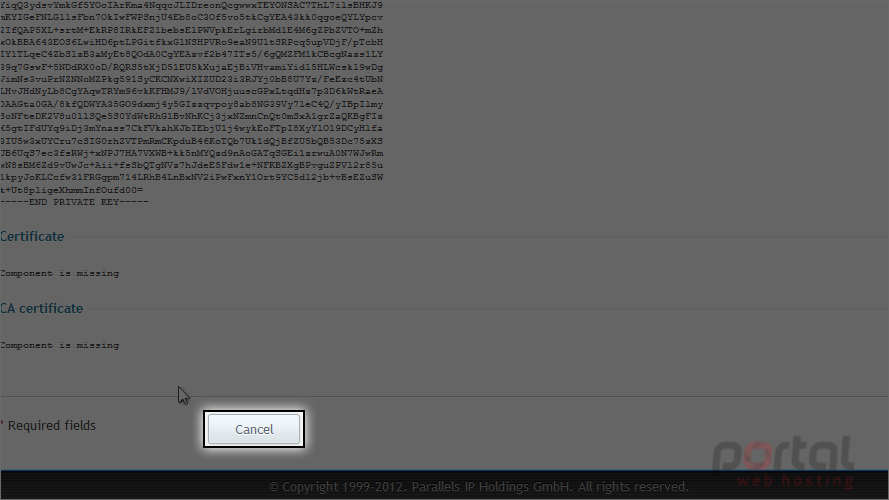
Instead of purchasing a certificate, you can create your own self-signed one. However, be aware that doing this will show a message to your visitors warning that the certificate may not be trusted or valid.
10) Return to SSL certificates.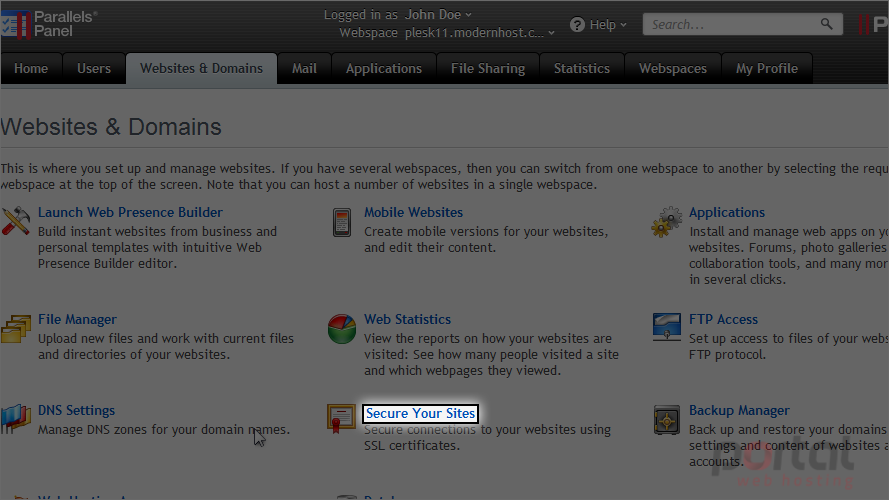
11) Click manage.
12) Click add SSL certificate.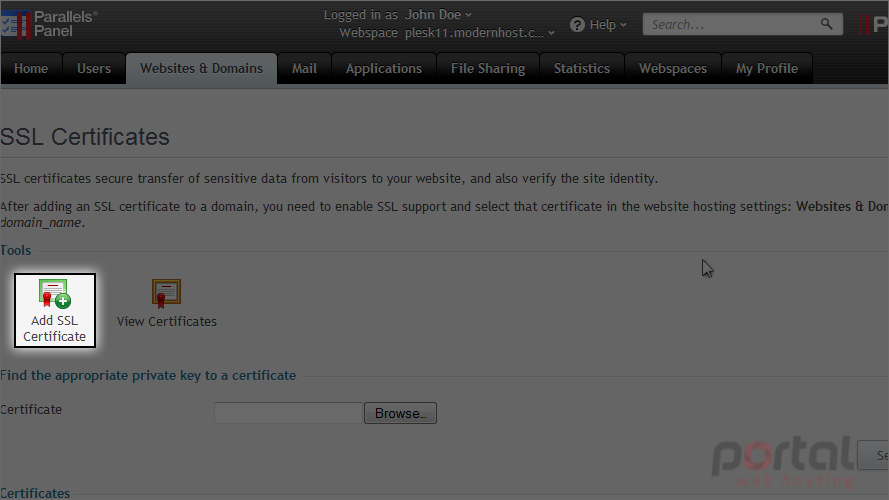
13) Enter a name, for your records only.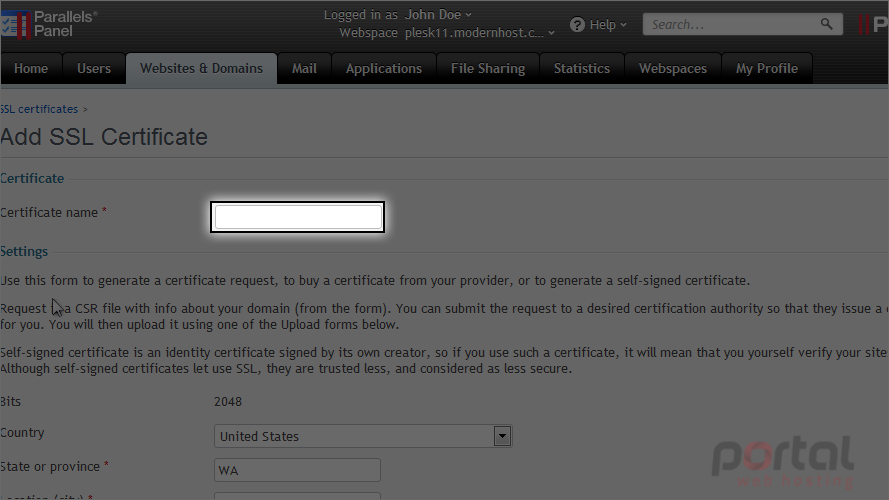
14) This time, click self-signed.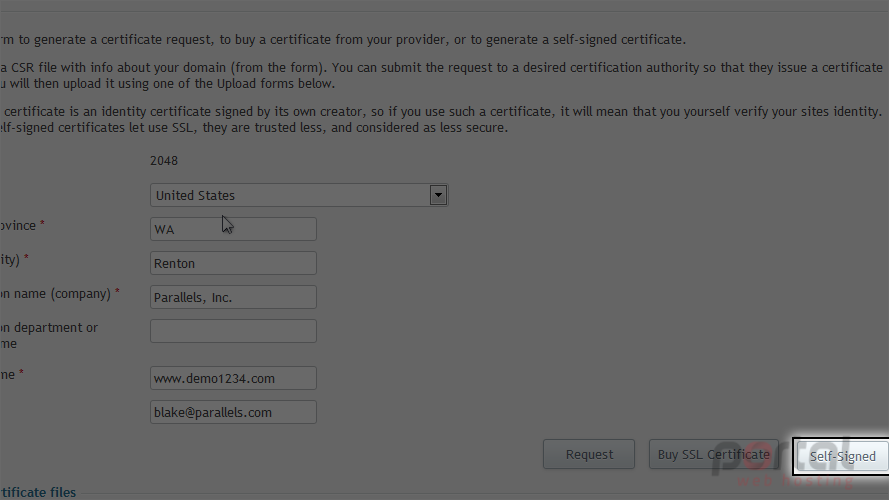
15) Let's view the generated certificate.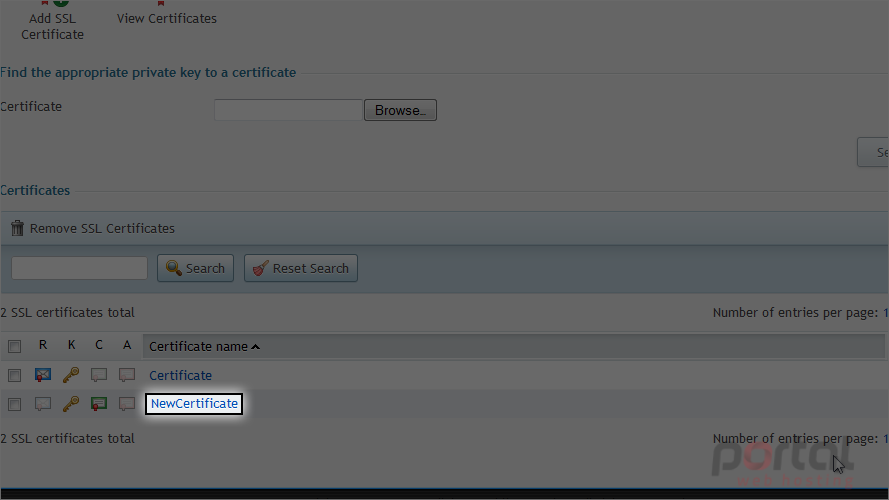
Here is the private key and certificate that were generated.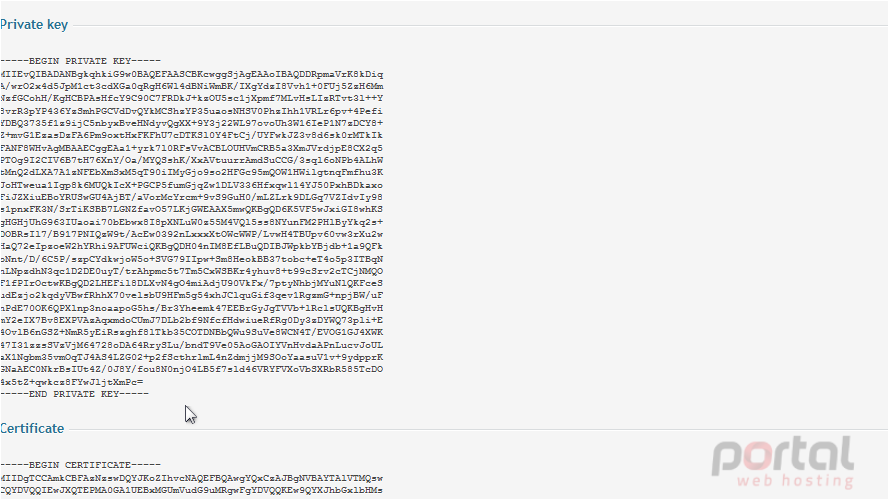
Now let's configure Plesk to use this certificate.
16) Return to websites & domains.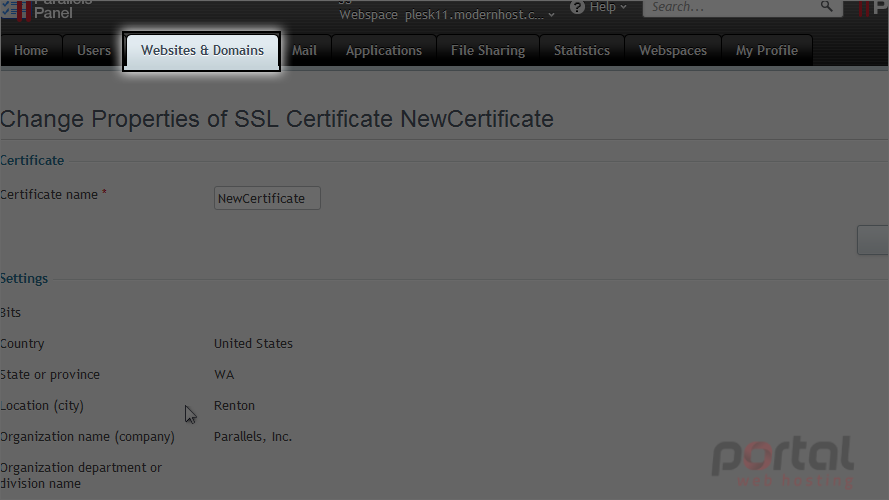
Scroll down to the website list.
17) Click on the domain.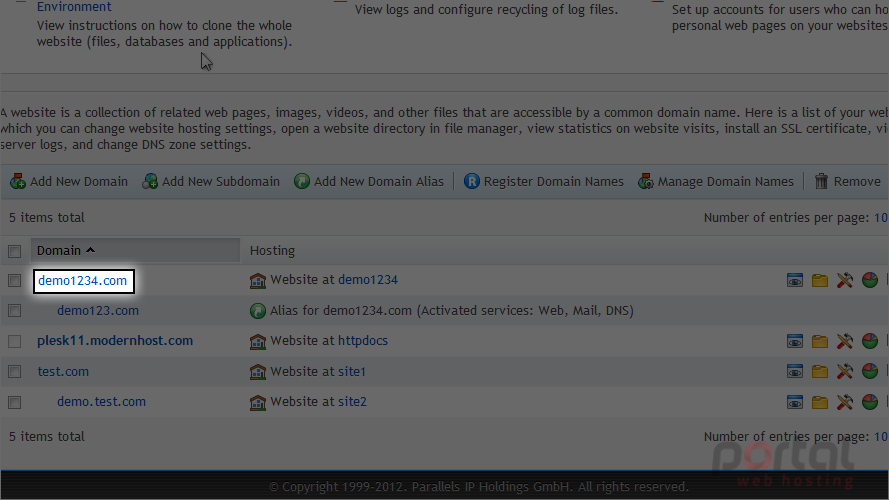
18) Make sure enable SSL support is checked.
19) In the certificate drop-down, choose the self-signed SSL certificate we just created.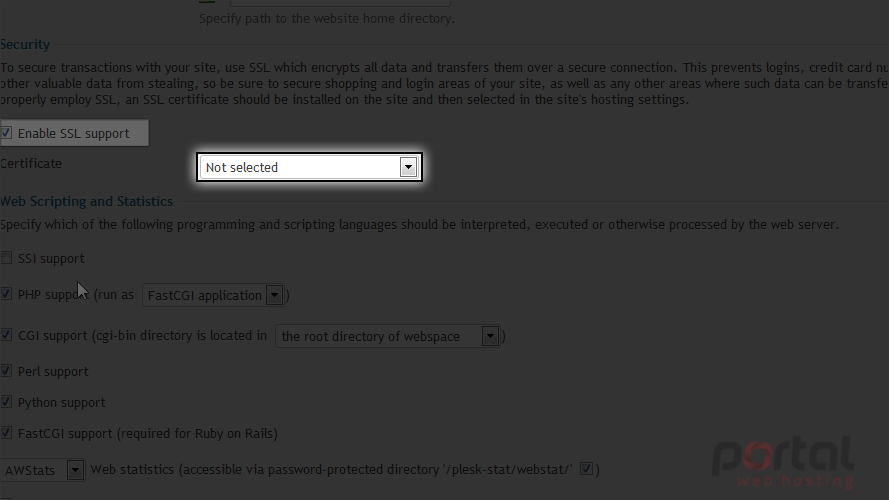
20) Click ok.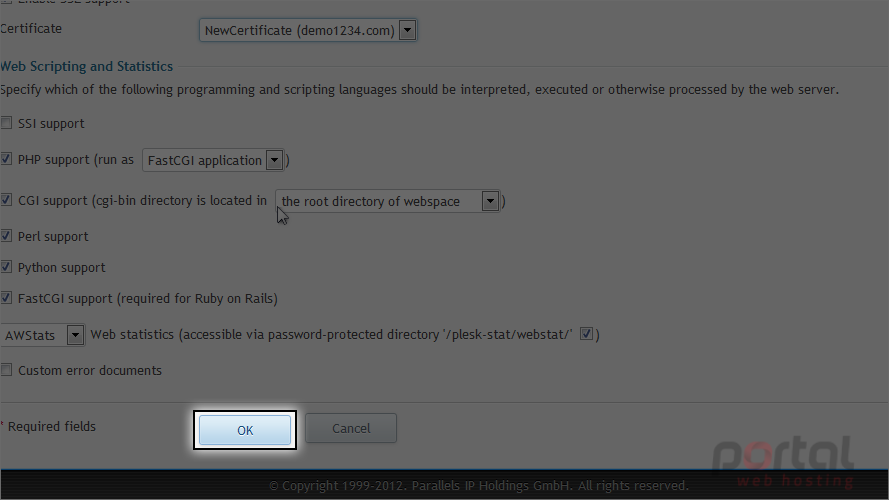
This is the end of the tutorial. Now you know how to install SSL certificates in Plesk.