Joomla 2.5 extensions series
15. How to add the Phoca Gallery in Joomla
This tutorial assumes you are already logged into your Joomla admin panel
1) Select the Extensions menu item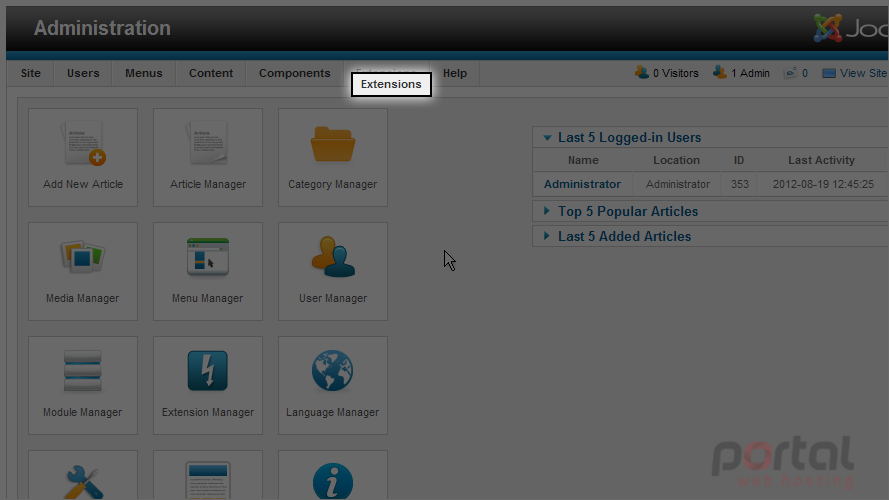
2) Then down and click on the Extension Manager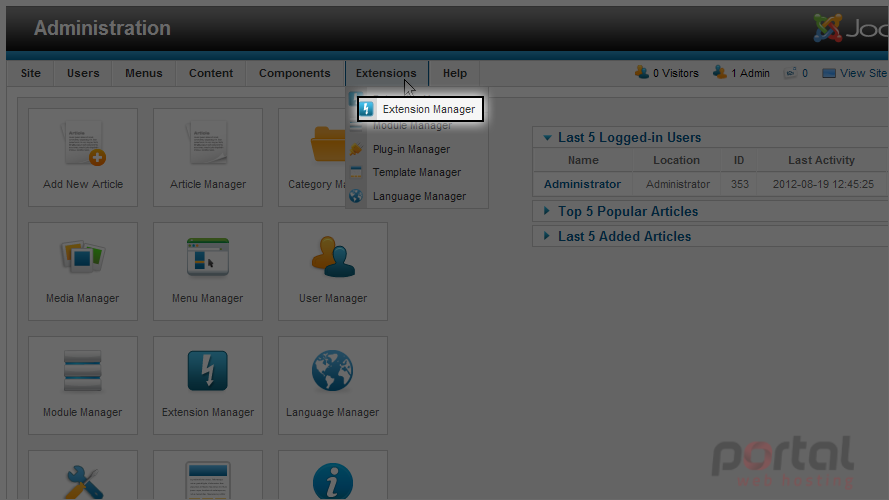
3) Click the Browse button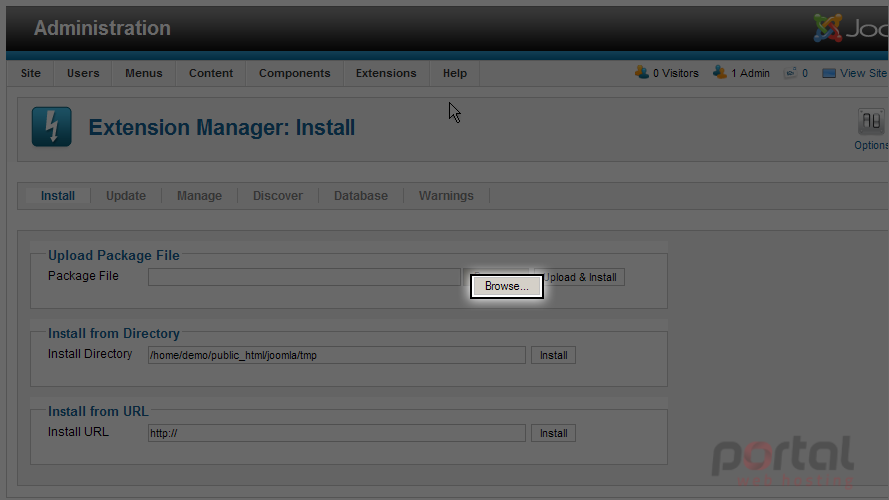
4) Select the component you wish to install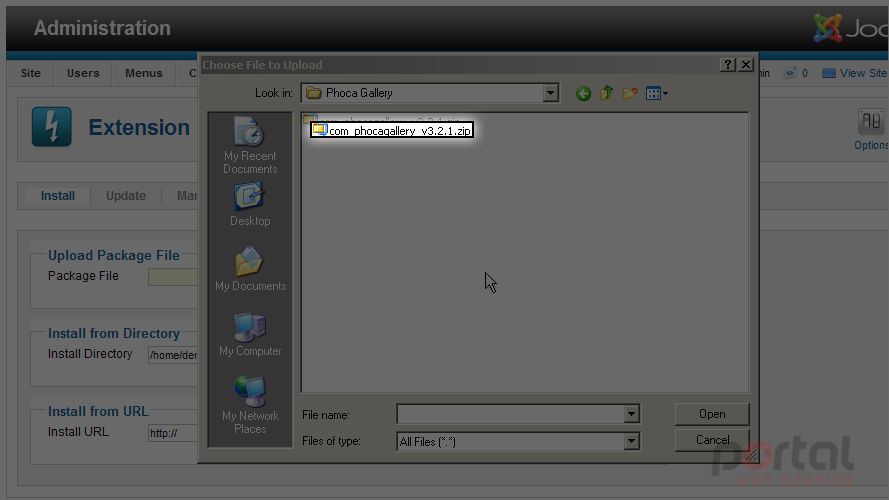
5) Click the Open button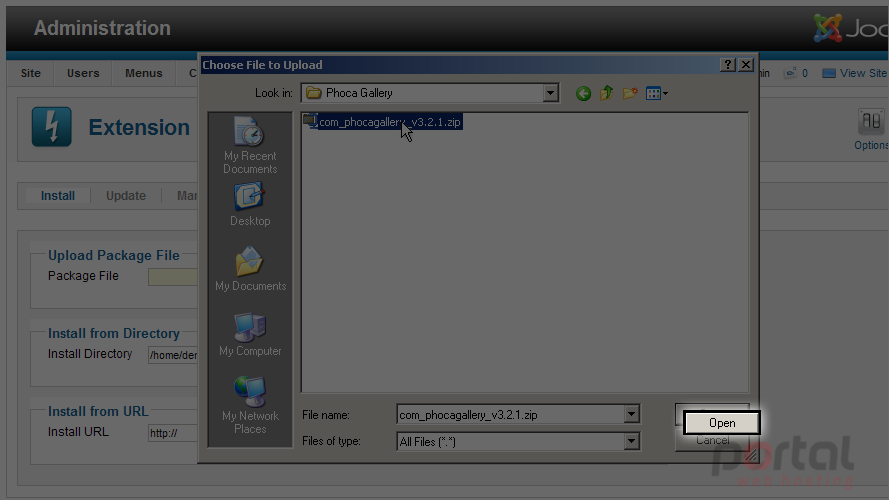
6) Select the Upload & Install button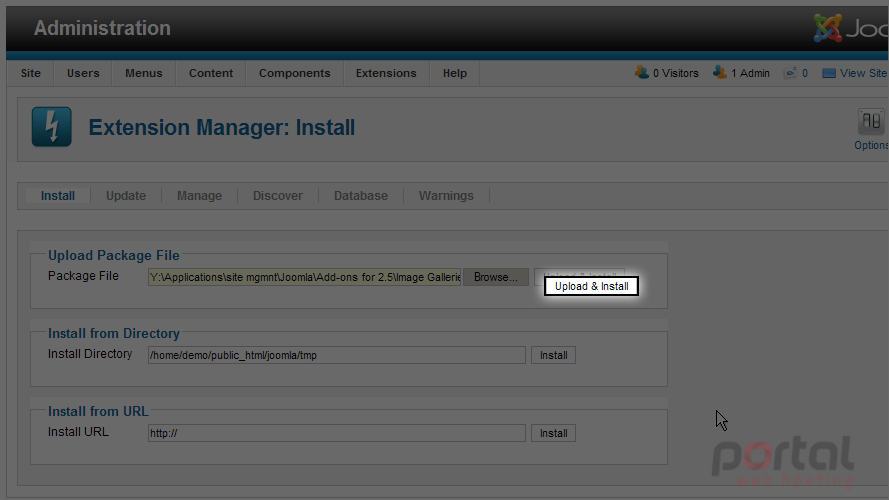
7) Scroll down and click the Install button to complete this installation
8) Select the Categories menu tab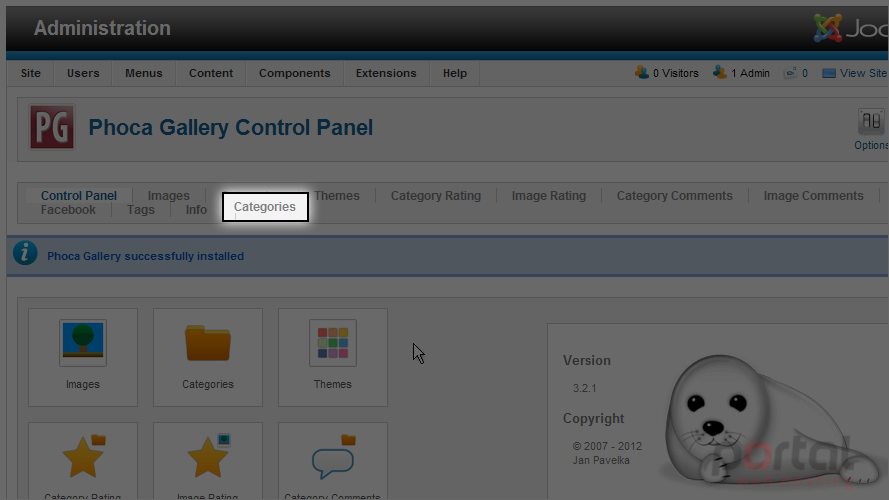
9) Click the New button and let's create a new category for our gallery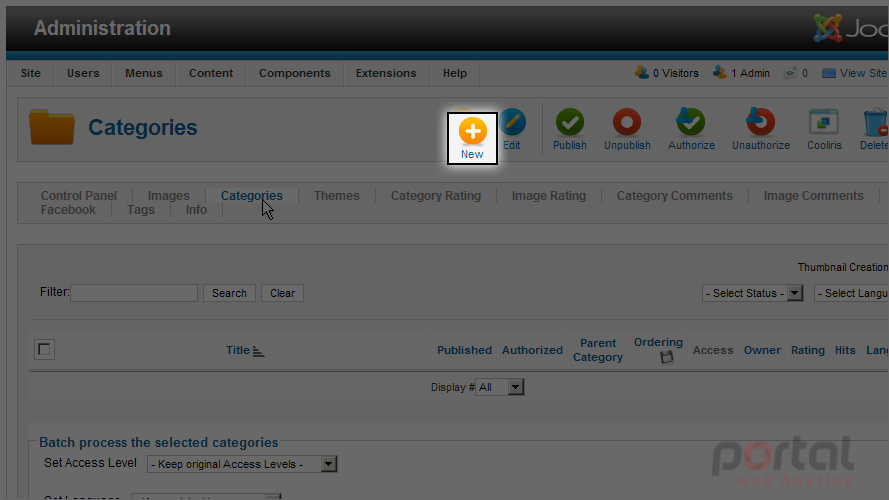
10) Select the Title field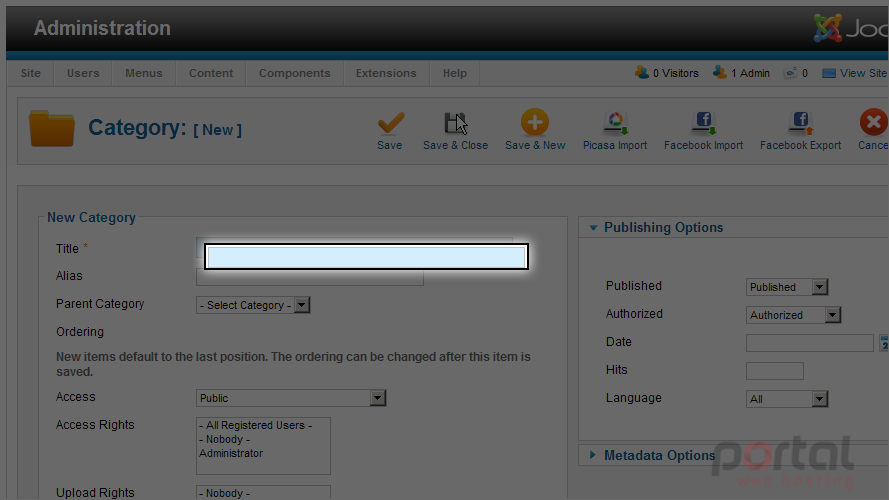
11) Select Access Rights below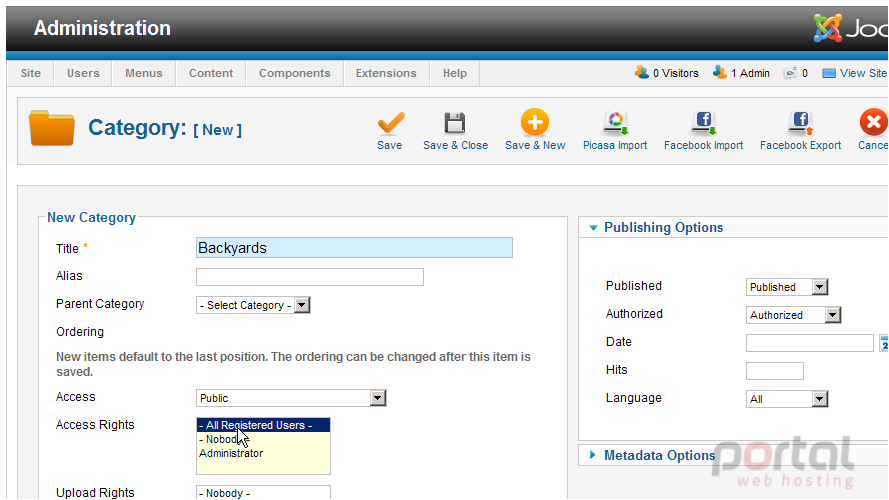
12) Enter a Description for this category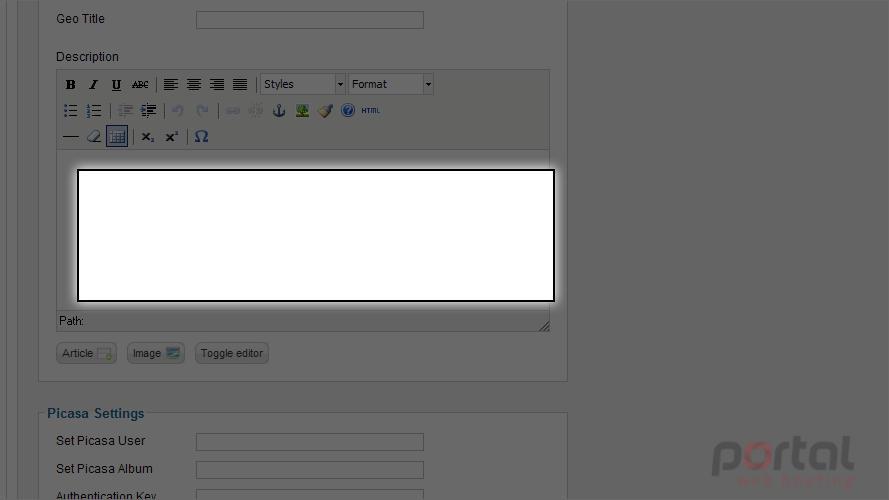
13) Scroll up and select the Save & Close button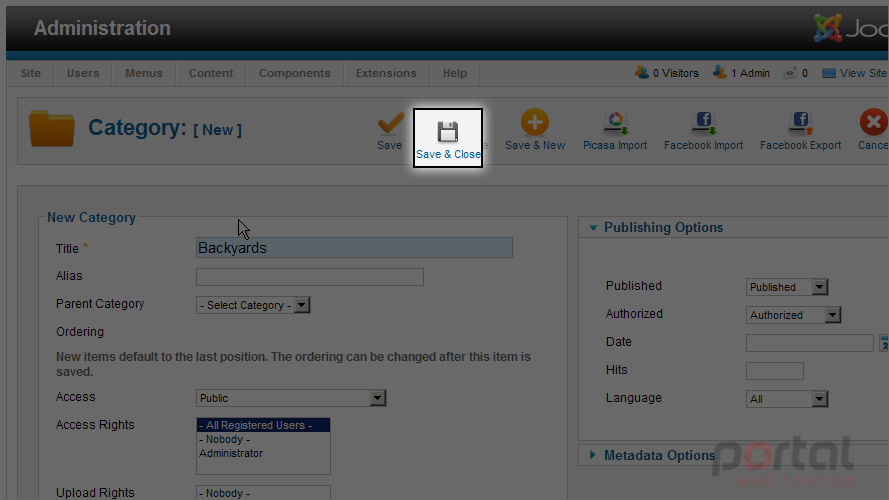
Now let's add an image to our gallery
14) Click the Images menu tab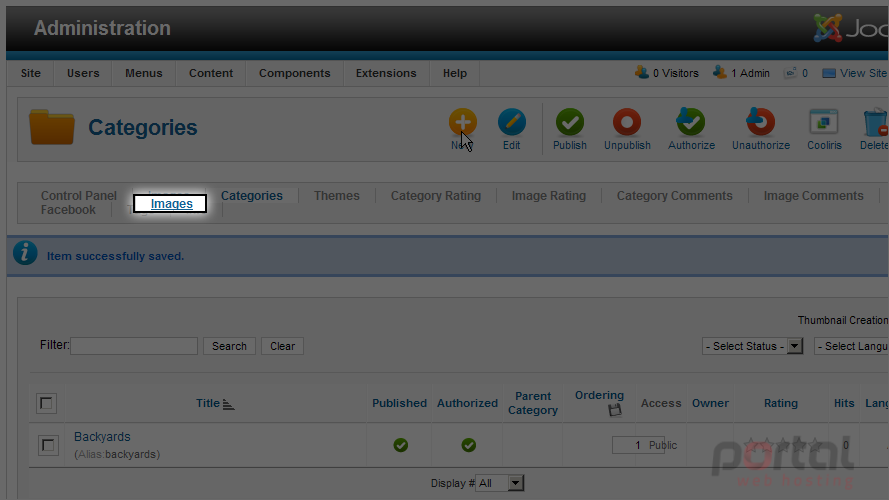
15) Click the New button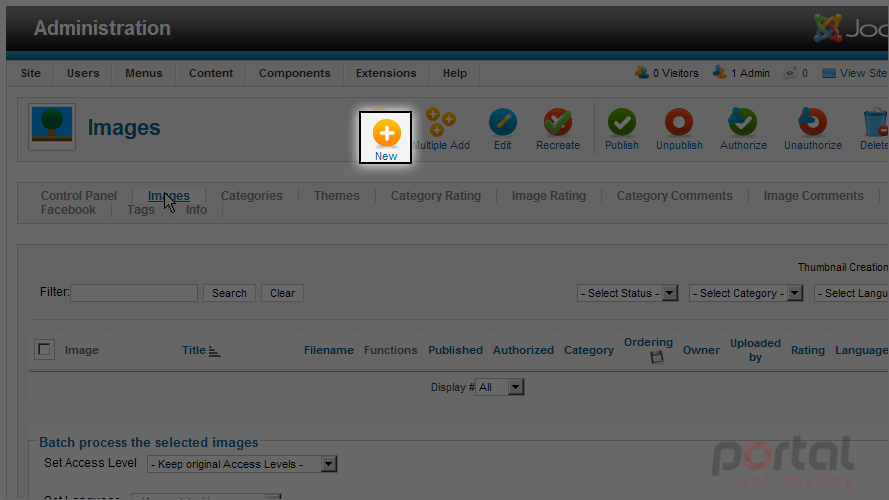
16) Select the Title field and enter a title for this image
17) Select a Category for this image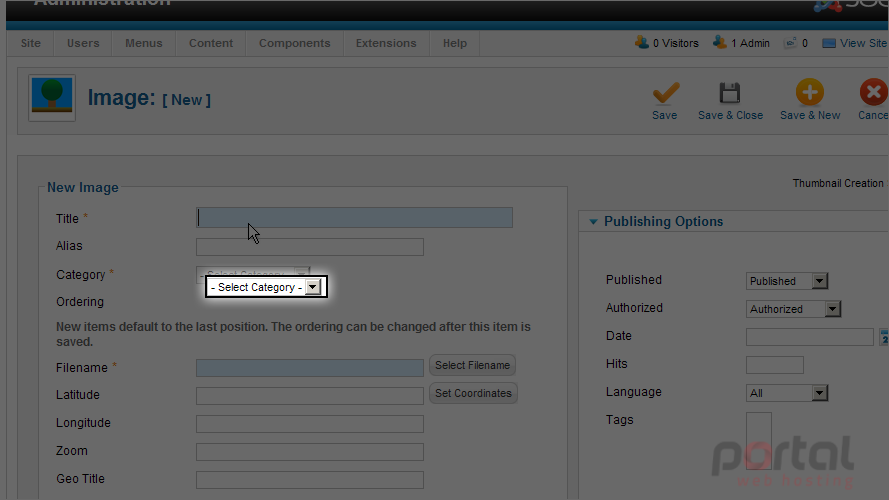
18) Click the Select Filename button for the Filename. This allows us to select or upload an image file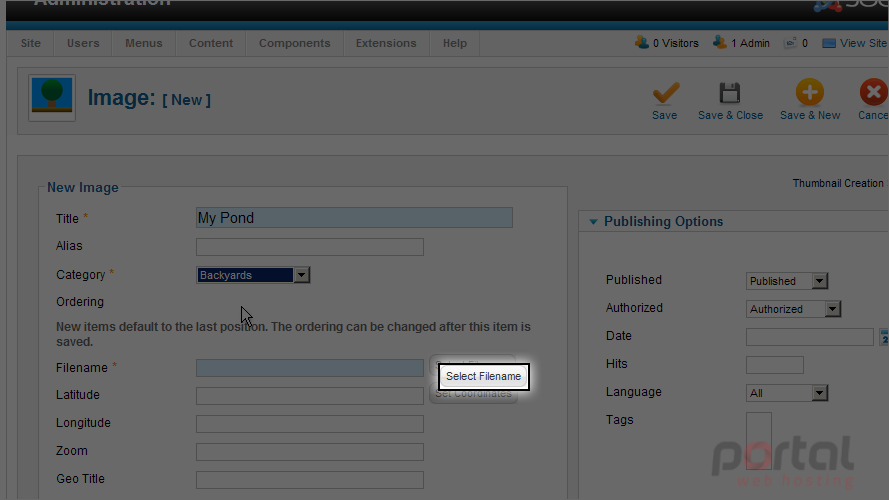
Let's create a new folder for our image
19) Now select the Create Folder button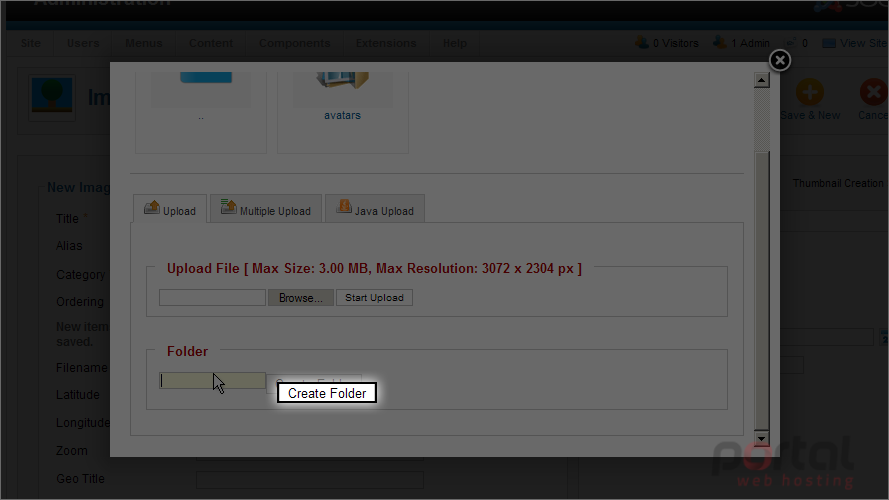
20) Double click on the new folder to make it the current active directory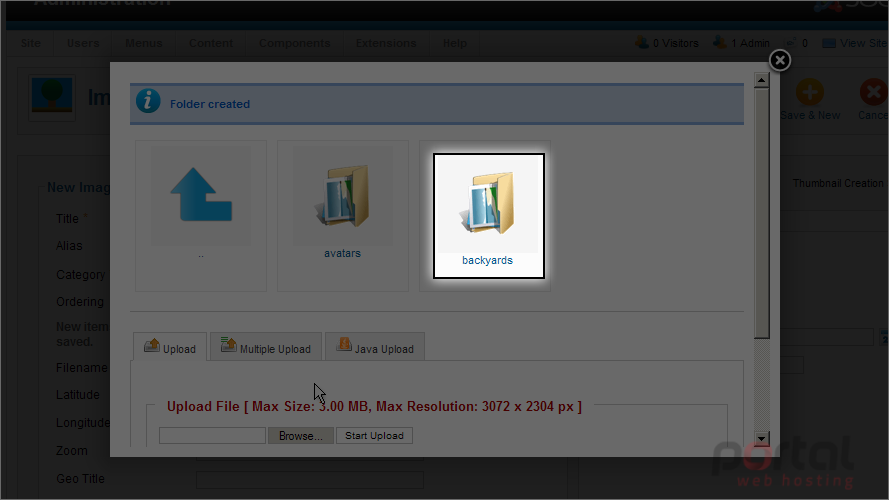
21) Select the Browse button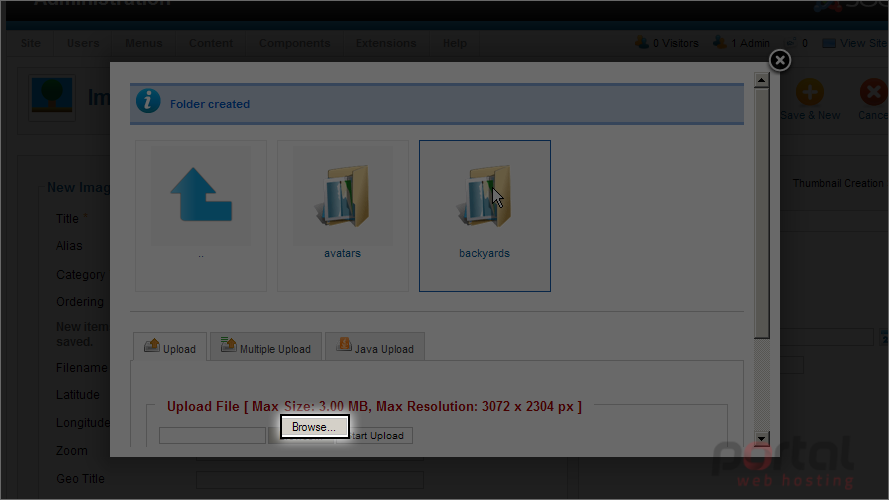
22) Select the image file to upload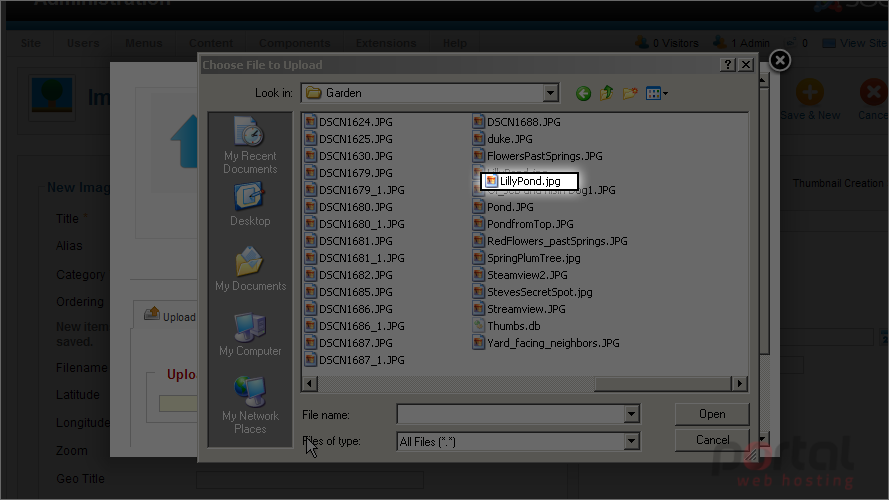
23) Click the Open button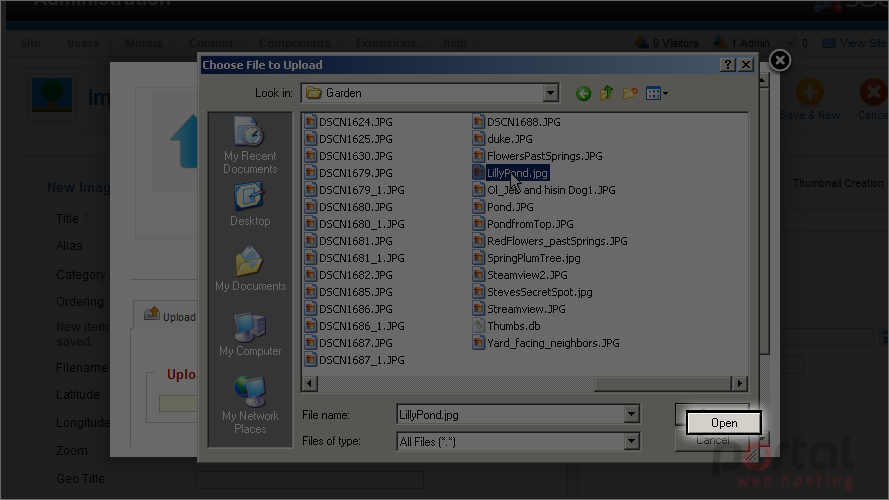
24) Select the Start Upload button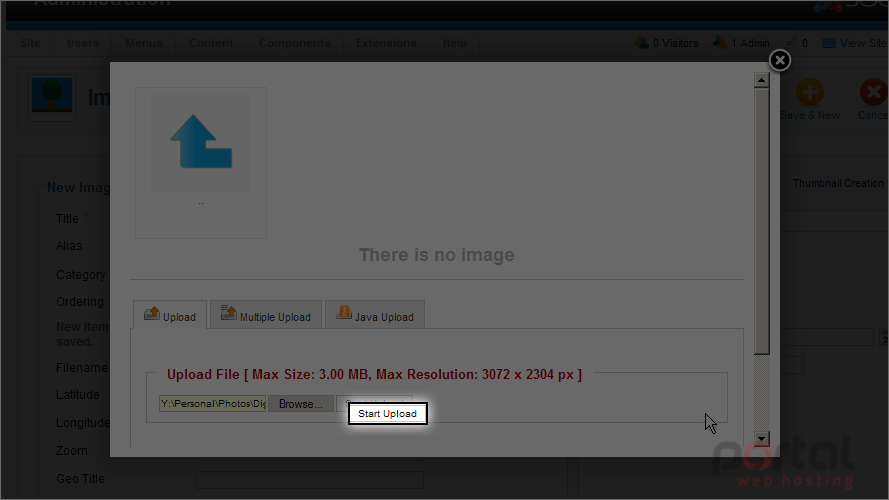
25) Double click on the file thumbnail to select it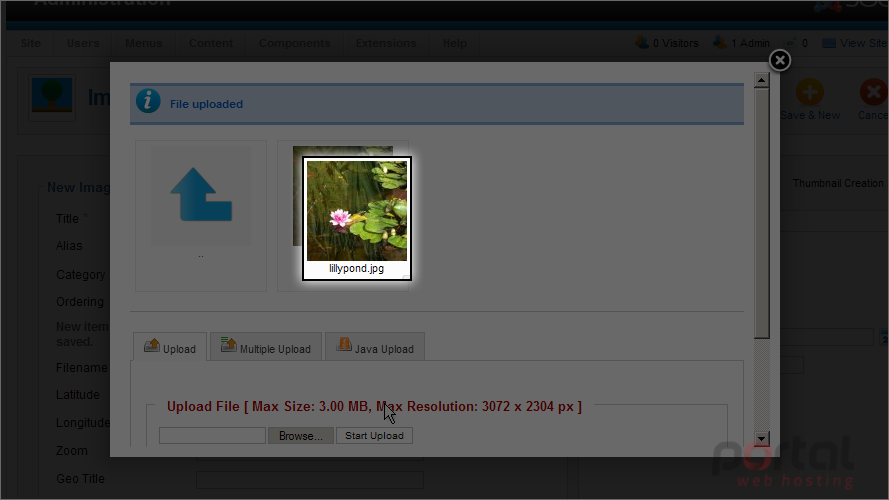
26) Scroll down and enter a Description for this image
27) Scroll up and click the Save & Close button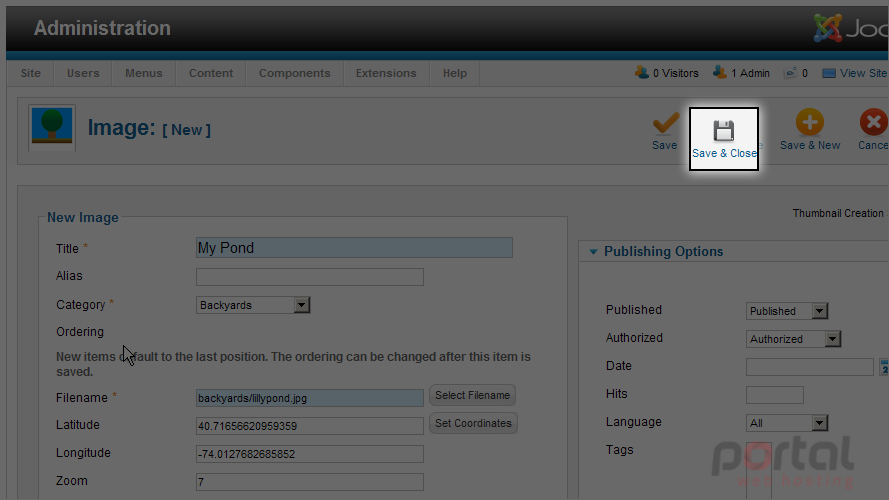
28) Select the Menus menu item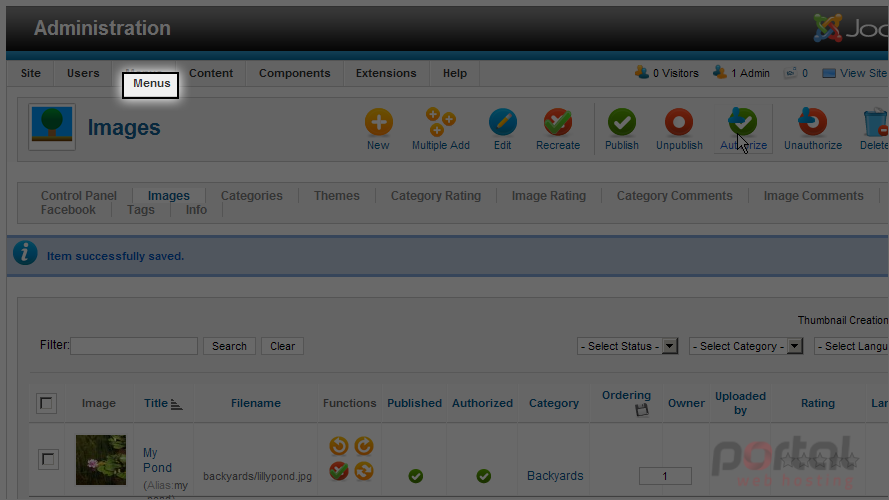
29) Then down to Top and over to Add New Menu Item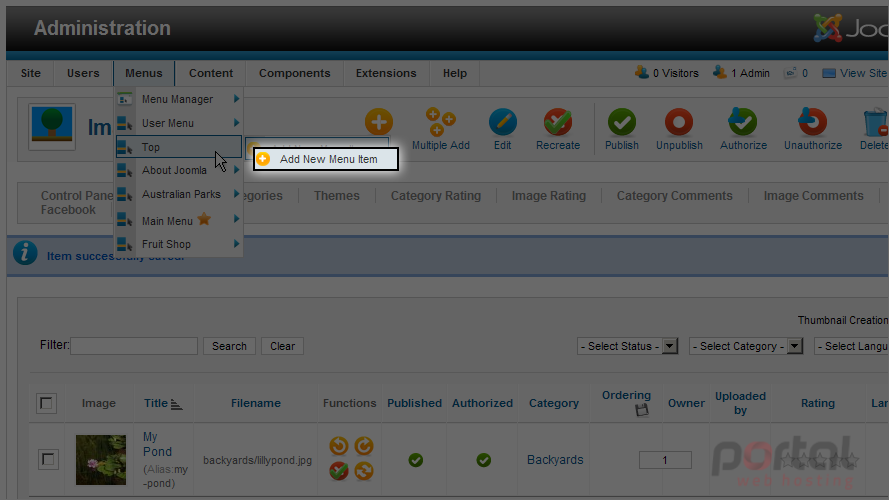
30) Click the Select button
31) Select the Menu Item Type for this menu item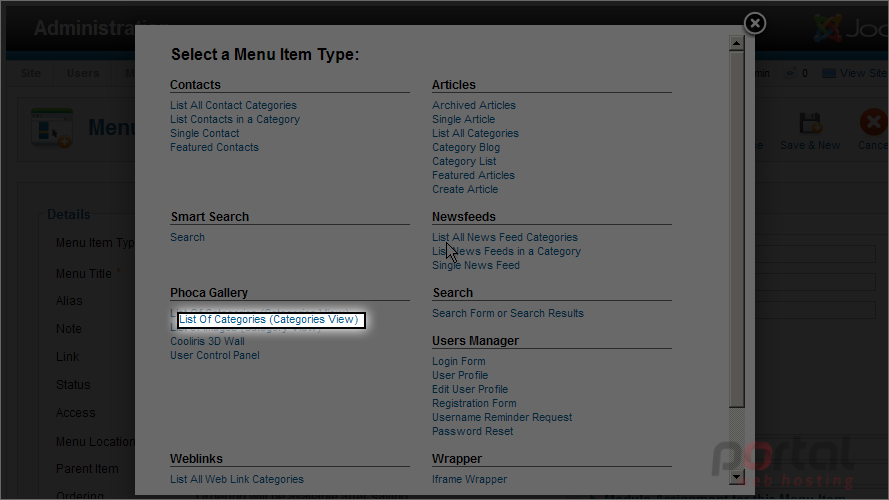
32) Enter the Menu Title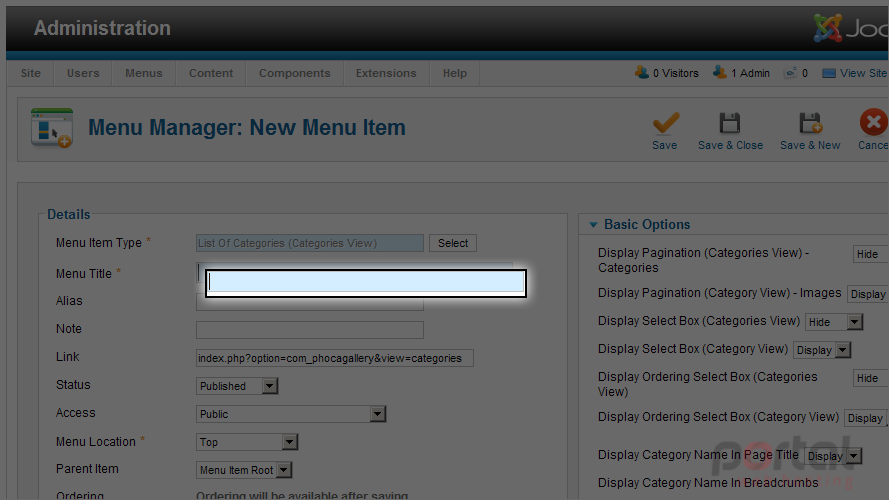
33) Click the Save & Close button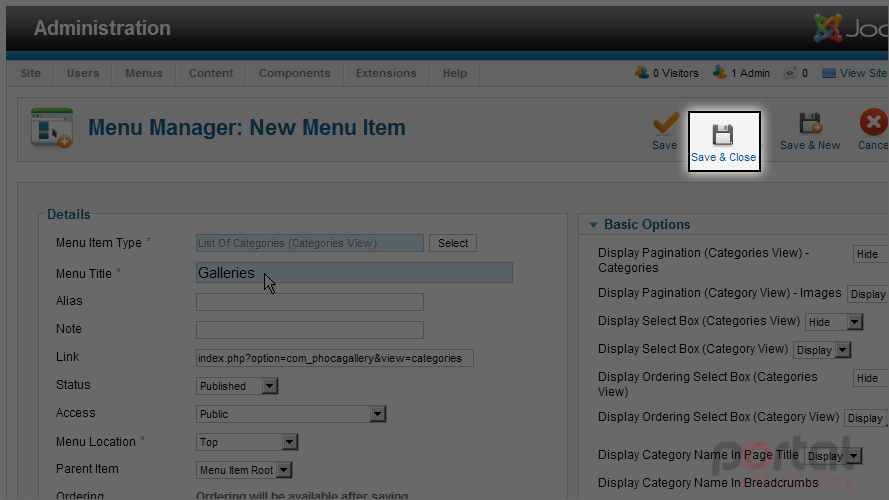
Let's view the gallery component on the site's homepage
34) Click the View Site link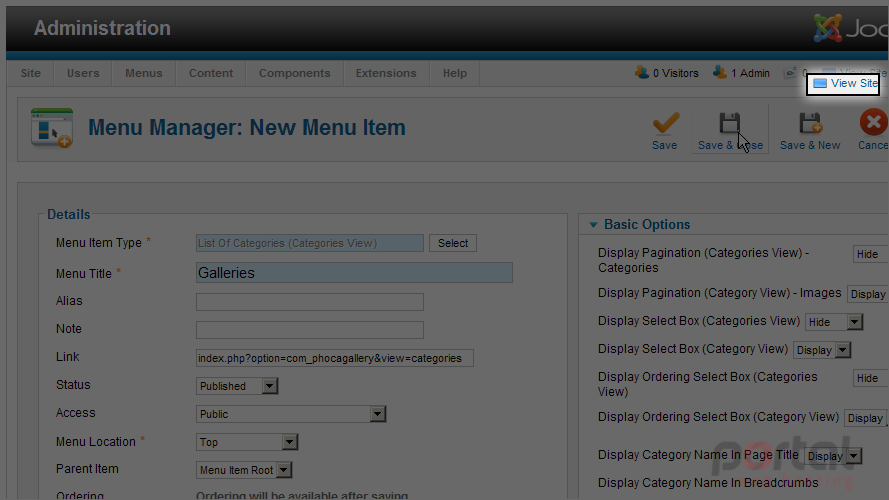
35) Select the GALLERIES menu item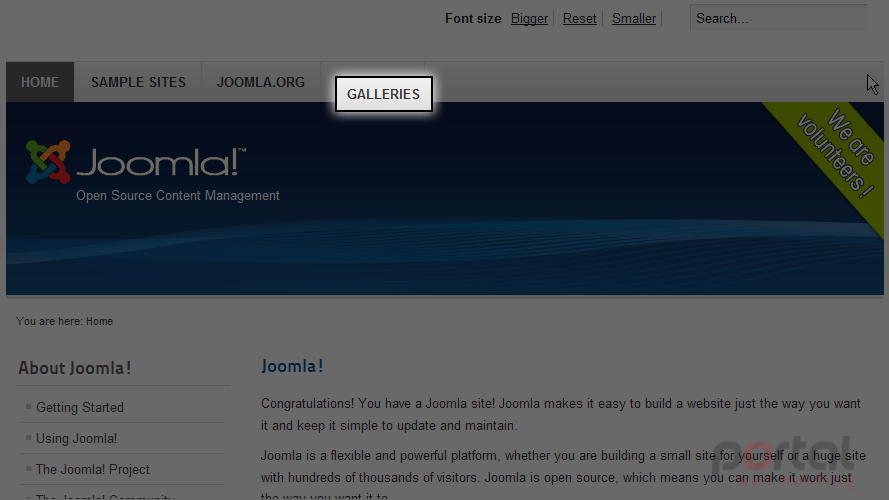
36) Click the image category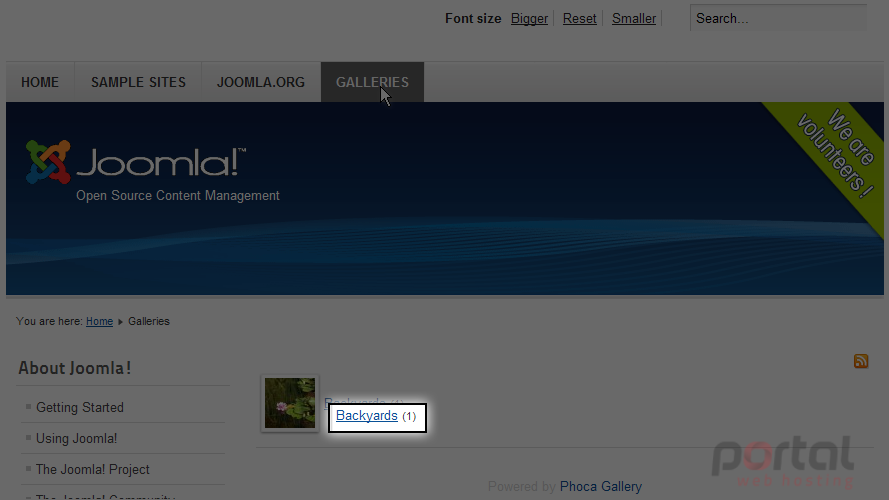
37) Click the image to view in a popup window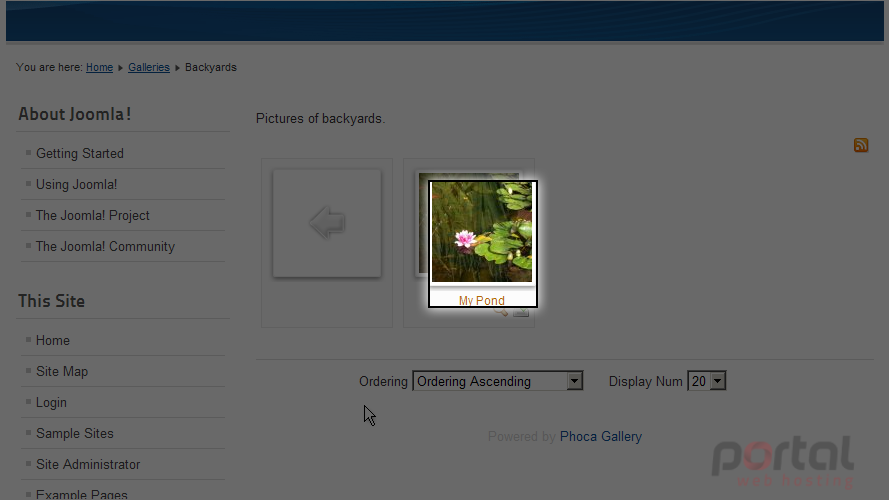
You now know how to add the Phoca Gallery to Joomla