Parallels Plesk Panel 11 reseller series
4. How to create and manage customers in Plesk
1) Begin by clicking customers.
2) First, let's add a new customer. Select add new customer.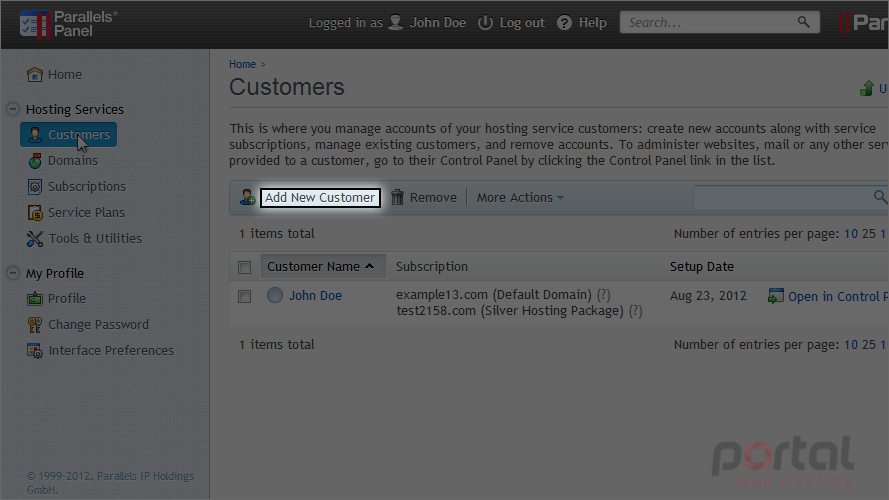
3) Specify the customer's contact and billing information.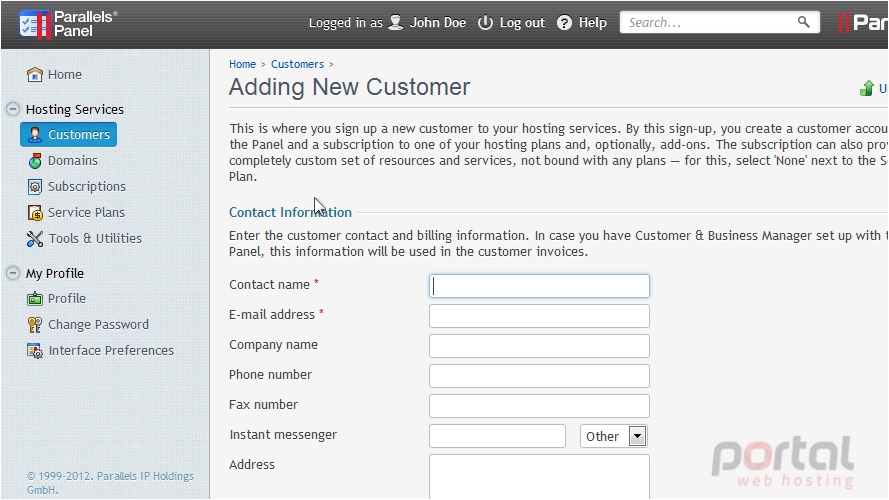
4) Enter the credentials that the customer will use to access the control panel.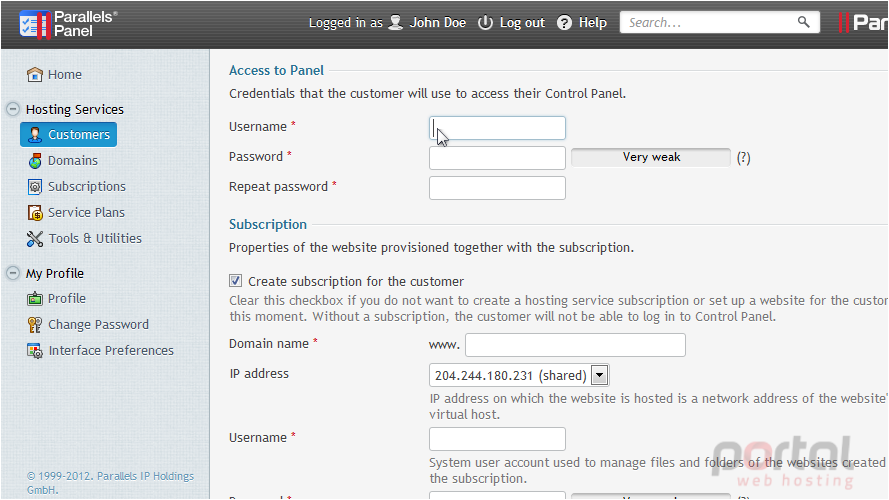
All customers added to Plesk must have at least one hosting subscription. Fill out this form with the relevant information for this customer's subscription.
5) Enter the primary domain linked with this subscription.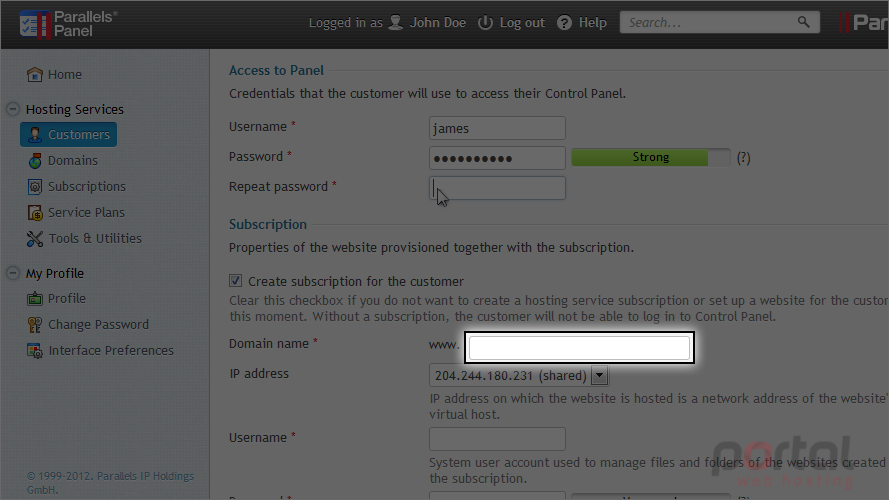
6) Optionally assign this subscription a dedicated IP address.
7) Enter the login information for the subscription's system user. This will be what the customer uses to access this subscription via FTP.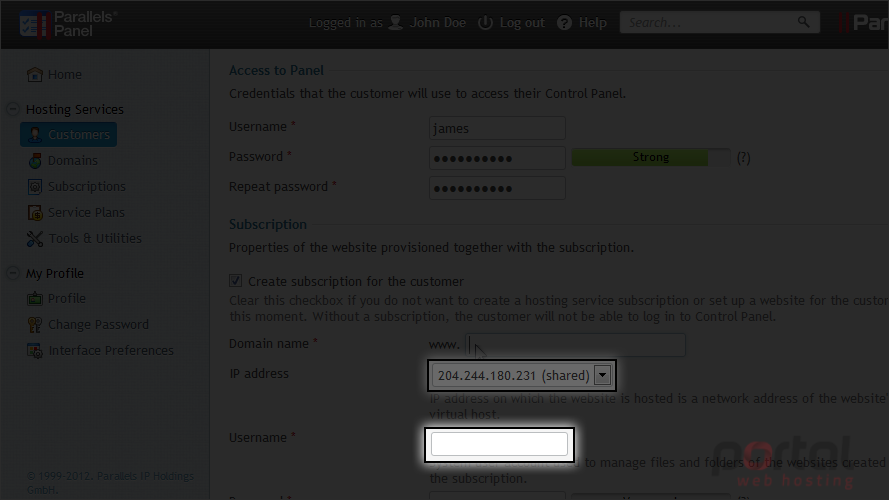
8) Choose a service plan with which the subscription should be associated.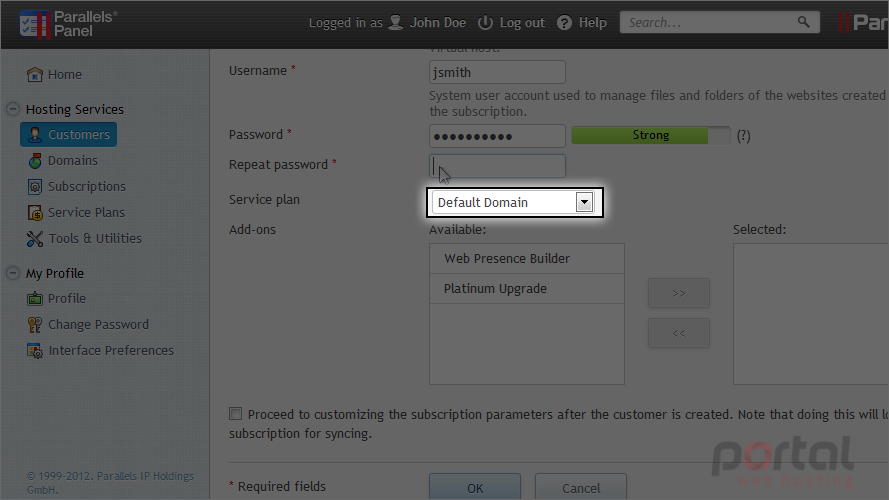
If you select "None", you will be given the opportunity to create a completely custom set of resources and services instead.
9) Select add-on plans if you wish to add any.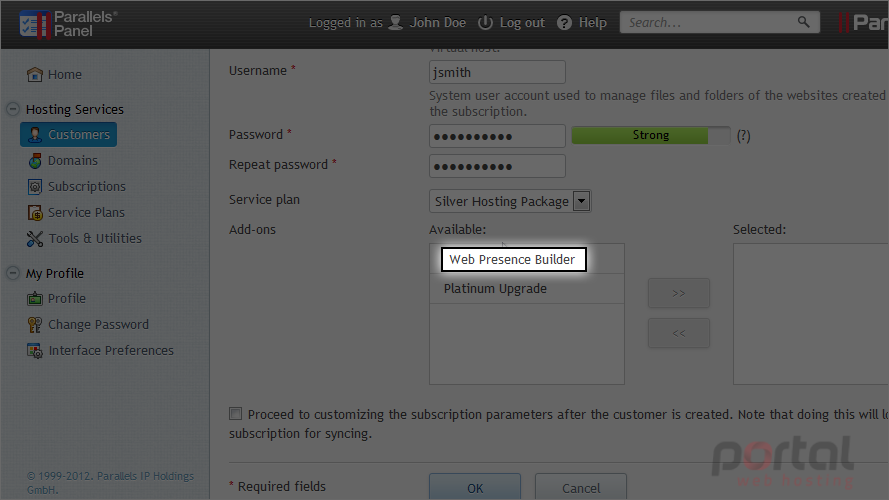
10) Click OK.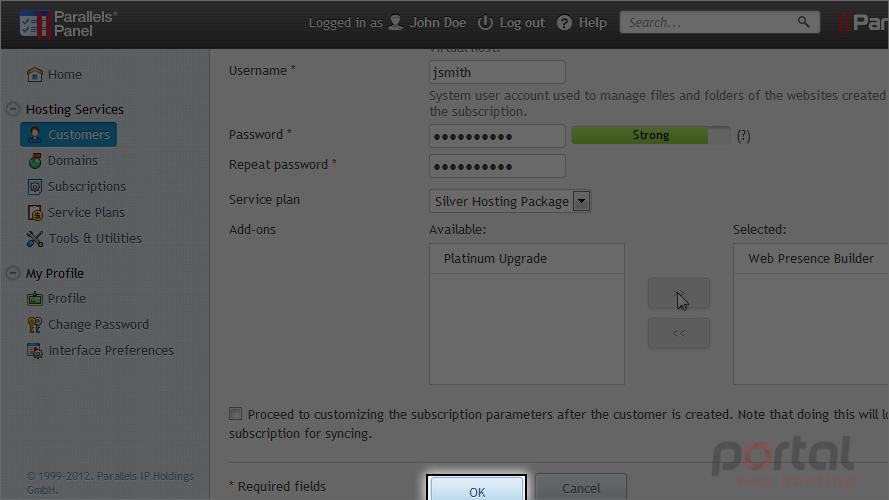
The customer was created successfully.
11) Click any customer's name to edit their account information.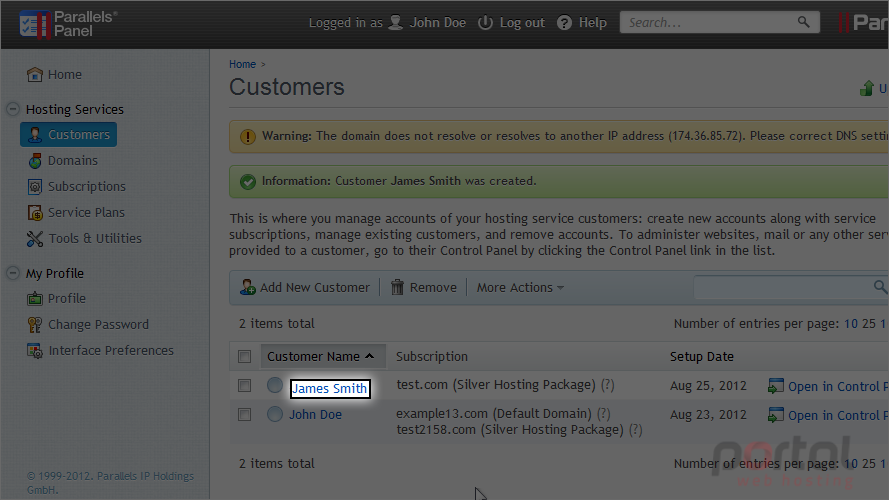
From here, we can visit the customer's control panel, edit or change contact and login info, and suspend or remove the account.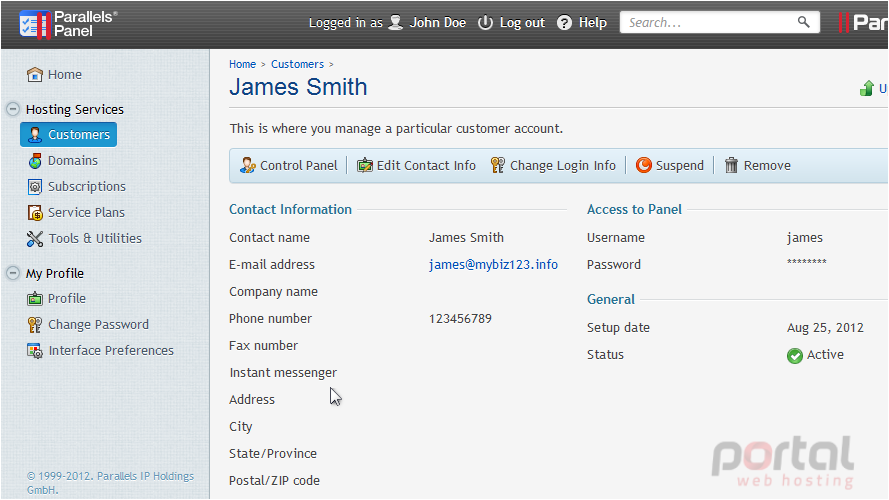
Use these options to add or edit this customer's subscriptions and to suspend or activate one. Many of the features on this page will be covered in later tutorials.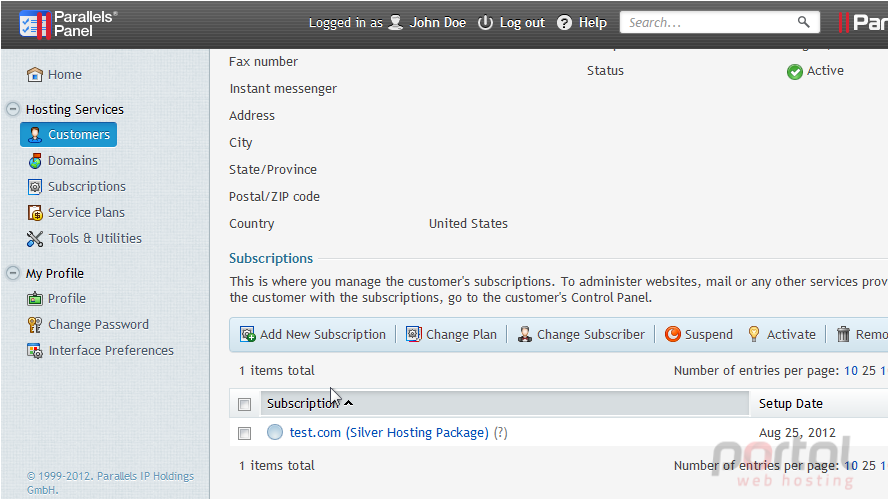
This is the end of the tutorial. Now you know how to manage customers in Plesk.